When Does Drywall Need to Be Replaced?
Drywall is a big part of your home’s walls or ceilings, but it doesn’t last forever. Over time, it can get damaged by moisture, cracks, or even a flood. As a homeowner, it’s important to know when drywall may need to be replaced to keep your home safe and looking good.
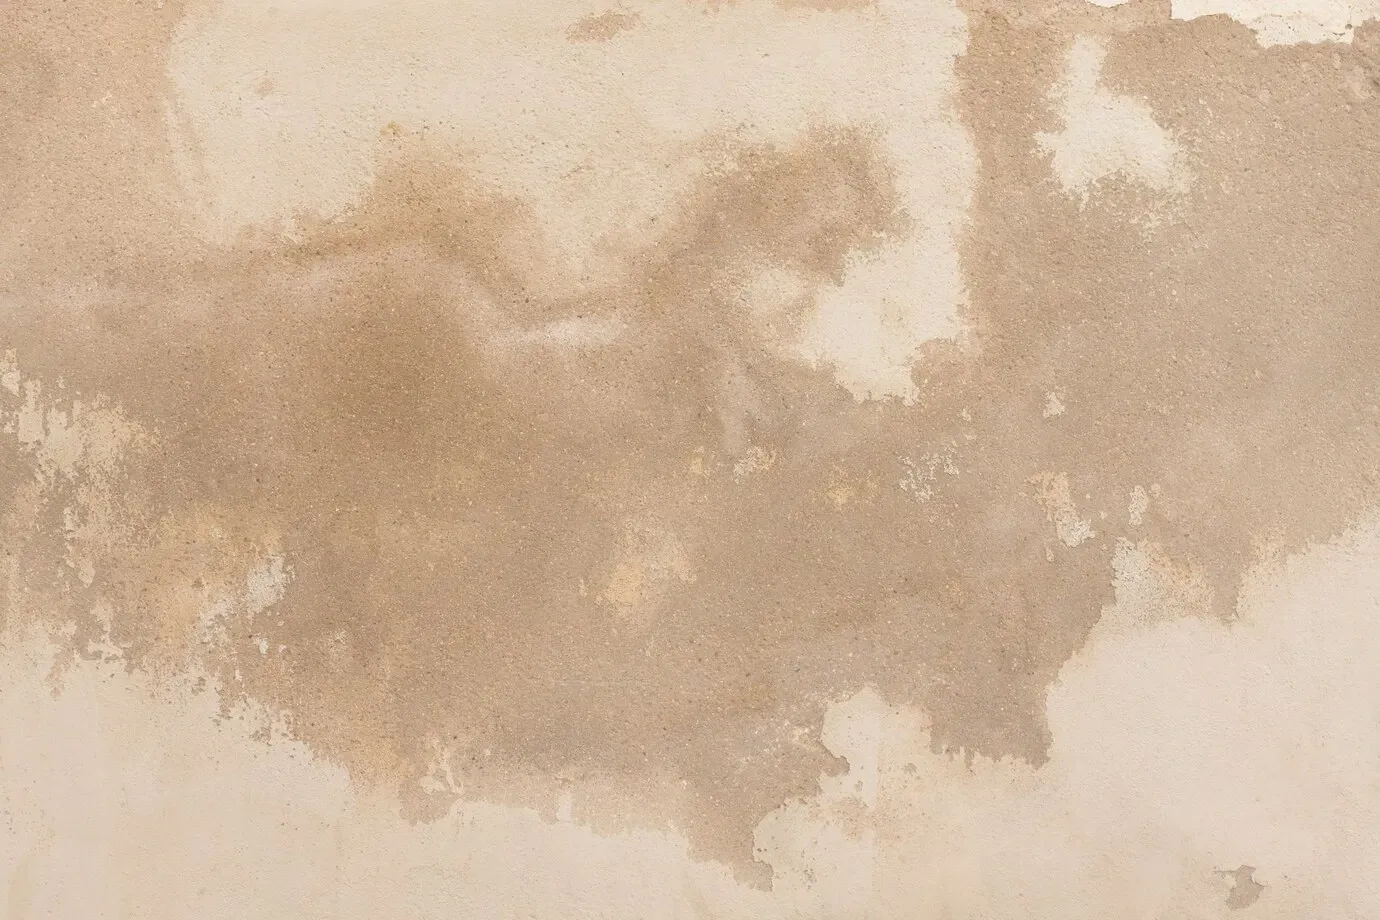
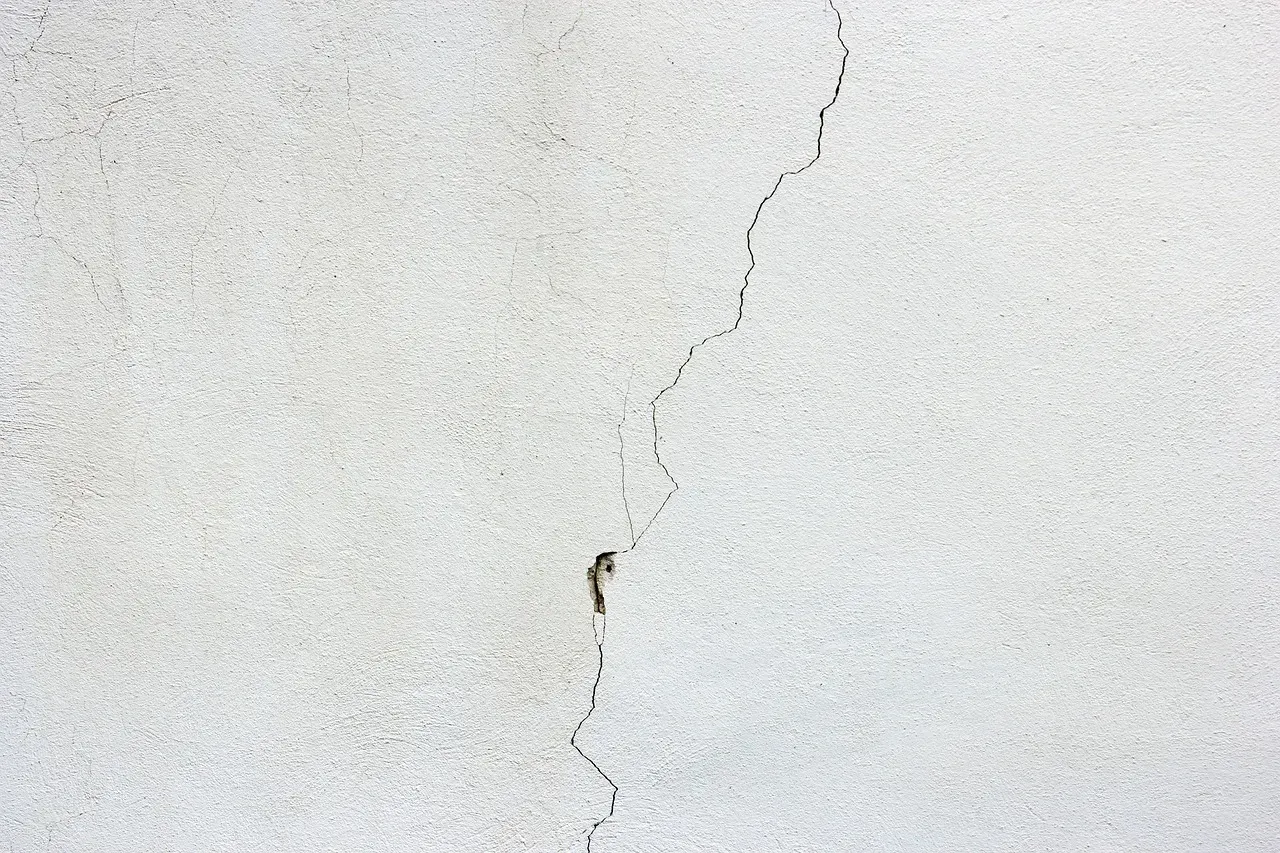
One of the biggest signs is water damage. If you see discoloration, soft spots, or mold, that’s a sign of water getting inside. Wet drywall always need to be replaced because it can grow mold and lose its structural strength. Even if the wall feels dry, water-damaged drywall can still hide problems. You might also need drywall replacement if there are deep cracks, sagging in the ceiling, or major holes that are too big to repair.
In this guide, we’ll show you the common signs, like signs of water damage or a crack that keeps getting worse. You’ll learn when to replace your drywall, when it can be repaired, and how to ensure the structural integrity of your home. If you've had water damage, restoration or water damage restoration may also be needed. Ready to check your walls? Let’s get started—or contact us today to learn more about your options.
When Does Drywall Get Wet, Does It Need to Be Replaced?
Yes, when drywall gets wet, it often needs to be replaced.
When drywall gets wet, it can cause serious problems. Water can weaken the drywall, leading to mold and mildew growth. If your drywall gets wet from leaks, floods, or high humidity, it's important to assess the damage quickly.
Why Water Damage Matters
- Structural Weakness: Water can weaken the drywall, causing it to lose its shape and strength. Over time, this can lead to sagging or crumbling walls.
- Mold and Mildew: Wet drywall is a breeding ground for mold and mildew. These can spread quickly, posing health risks and damaging more areas of your home.
- Aesthetic Damage: Water stains and discoloration can make your walls look unattractive. Even if the drywall dries out, the stains often remain.
When to Replace Wet Drywall
- Soft Spots: Press gently on the drywall. If it feels soft or spongy, it needs to be replaced.
- Swelling or Warping: If the drywall is swollen or warped, it can't be fixed and should be replaced.
- Persistent Mold: If mold keeps coming back despite cleaning, the drywall must go. Mold can penetrate deep into the material, making it hard to remove completely.
In short, if your drywall gets wet, it's often best to replace it. This ensures your walls stay strong, safe, and looking good.
What Causes Drywall Damage?
There are several common causes of drywall damage:
Water Damage
- Leaks: Water from leaking pipes or roofs can seep into the drywall, causing it to weaken and eventually break down.
- Floods: Flooding can soak drywall, leading to swelling, warping, and mold growth.
- Humidity: High humidity levels can also cause moisture to build up in drywall, leading to mold and mildew.
Physical Impact
- Accidents: Bumping into walls with furniture or other objects can create dents, holes, or cracks in the drywall.
- Structural Shifts: Natural settling of the house or shifting foundations can cause cracks and other damage to the drywall.
Poor Installation
- Improper Techniques: If the drywall was not installed correctly, it may be more prone to damage. This can include issues like poorly taped seams or insufficient screws.
- Low-Quality Materials: Using substandard materials can result in drywall that deteriorates more quickly and is more susceptible to damage.
Other Factors
- Pests: Insects or rodents can chew through drywall, creating holes and compromising the structure.
- Age: Over time, drywall naturally wears out and becomes more prone to damage. Older homes may have drywall that needs to be replaced due to age-related wear and tear.
Understanding these causes can help you take steps to prevent drywall damage and address it promptly when it occurs.
How to Assess Drywall Condition?
Assessing the condition of your drywall is crucial to determine if it needs to be replaced. Here’s how you can do it.
DIY Methods
- Visual Inspection: Look for visible signs of damage like cracks, holes, stains, or mold. Pay special attention to areas around windows, doors, and baseboards.
- Feel for Soft Spots: Gently press on the drywall with your fingers. If it feels soft, spongy, or unstable, it may need to be replaced.
- Tap Test: Lightly tap on the drywall with a small tool or your knuckles. Sound differences can indicate problems. A hollow sound may suggest voids or damage behind the drywall.
Professional Assessment
- Moisture Meter: Professionals use moisture meters to detect hidden moisture within the drywall. This is especially useful for spotting water damage that isn’t visible.
- Infrared Camera: Infrared cameras can identify cold spots, which often indicate moisture problems. This helps in finding areas affected by leaks or high humidity.
- Mold Inspection: If there’s any suspicion of mold, professionals can conduct thorough inspections to determine the extent of mold growth and recommend appropriate actions.
When to Call a Professional
- Extensive Damage: If the damage covers a large area or multiple areas, it’s best to get a professional opinion.
- Recurring Issues: Problems that keep coming back, such as persistent cracks or mold, need expert assessment to address underlying causes.
- Health Concerns: For significant mold issues, which can affect indoor air quality and health, professional remediation is essential.
Regularly assessing your drywall helps in early detection of issues, ensuring timely repairs or replacements, and maintaining the structural integrity of your home.
What is the Process for Drywall Replacement?
Replacing drywall involves several steps to ensure a proper and lasting repair. Here’s how it’s done:
Preparation
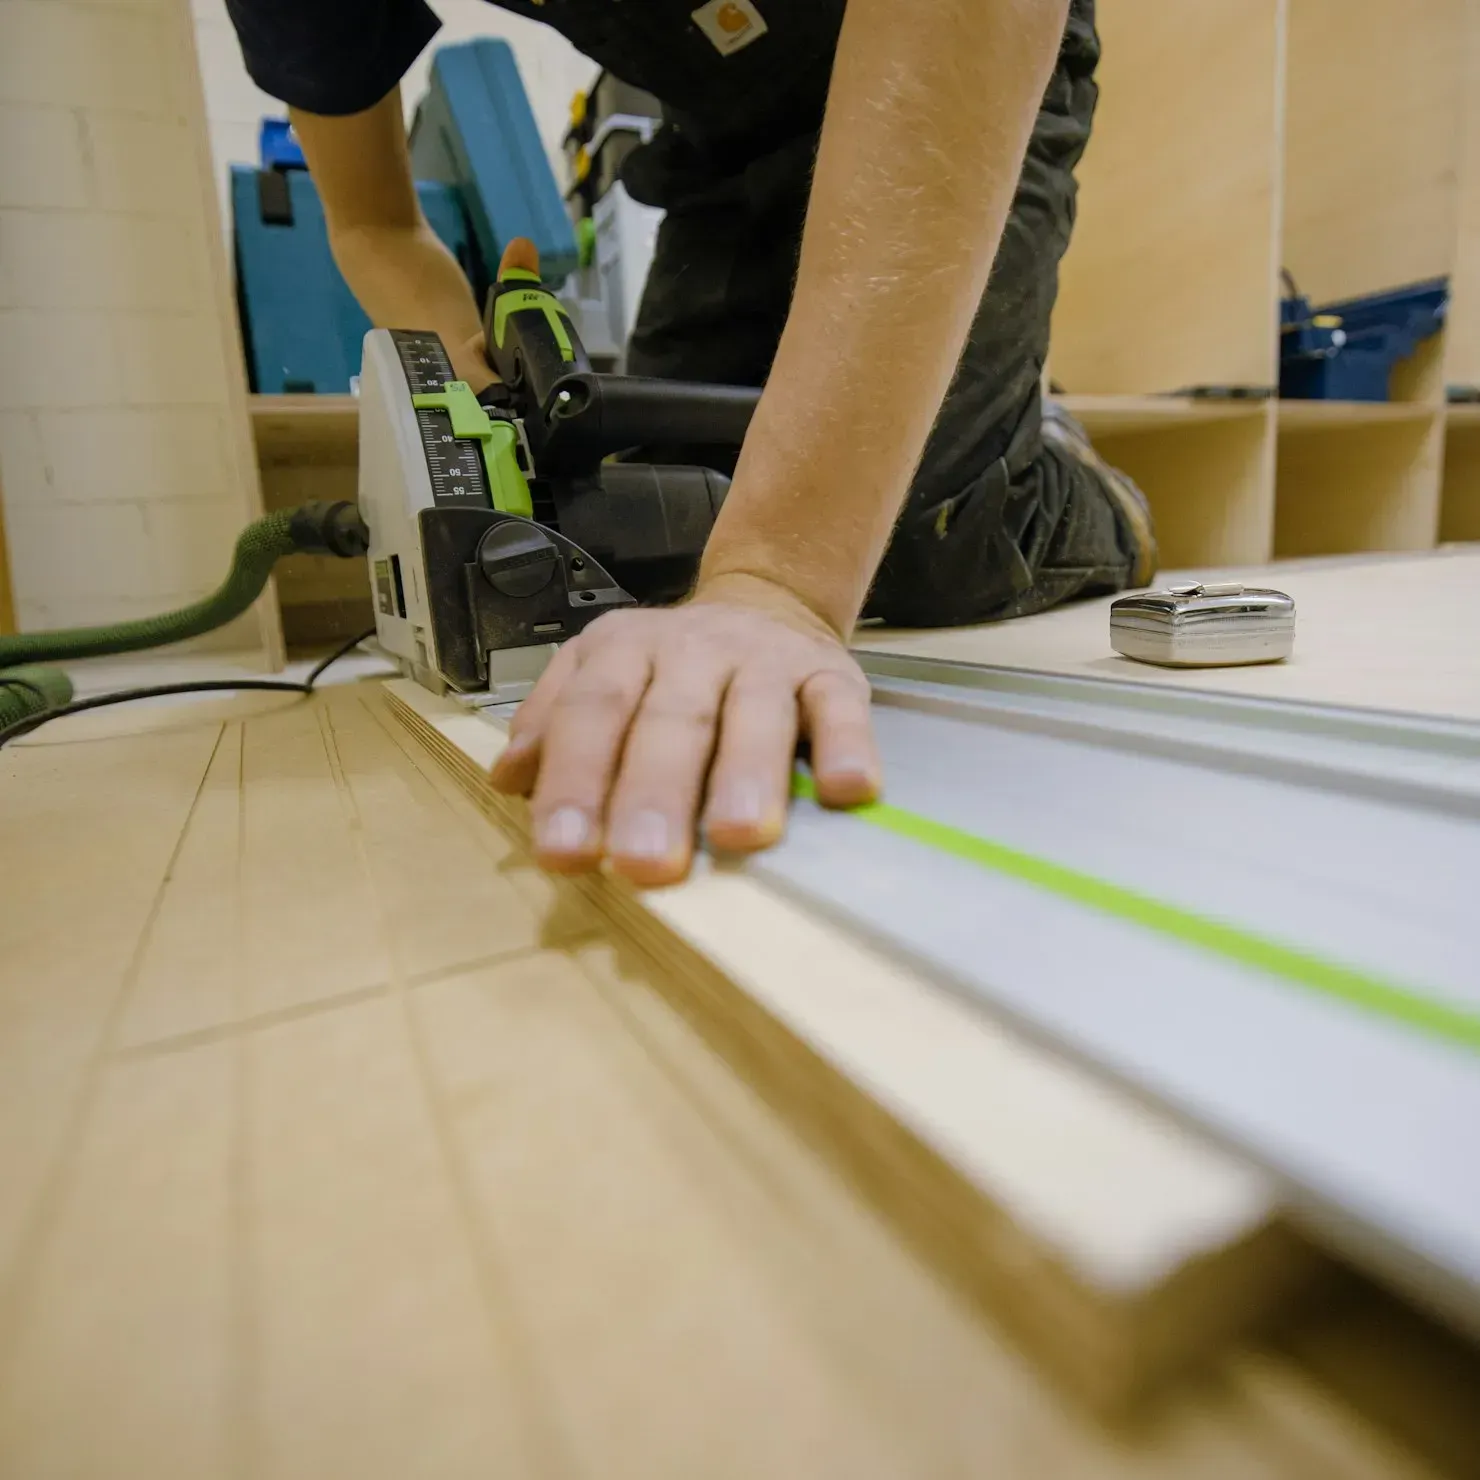
- Gather Tools and Materials: You’ll need new drywall sheets, a utility knife, drywall saw, screws, a screwdriver or drill, joint compound, drywall tape, and a putty knife.
- Safety Precautions: Wear protective gear such as safety glasses, gloves, and a dust mask to protect against dust and debris.
Removal
- Mark the Area: Use a pencil to mark the area of drywall that needs to be removed. Ensure you cut out a slightly larger area than the visible damage to reach sound drywall.
- Cut the Drywall: Use a utility knife or drywall saw to cut along the marked lines. Be careful not to cut any wires or pipes behind the drywall.
- Remove Damaged Section: Carefully remove the damaged drywall section. Check for any hidden damage behind it, such as mold or water leaks.
Installation
- Measure and Cut New Drywall: Measure the hole and cut a piece of new drywall to fit. Make sure it’s slightly smaller than the hole for easy installation.
- Attach New Drywall: Place the new piece of drywall into the hole and secure it with drywall screws. Ensure the screws are slightly recessed without breaking the drywall surface.
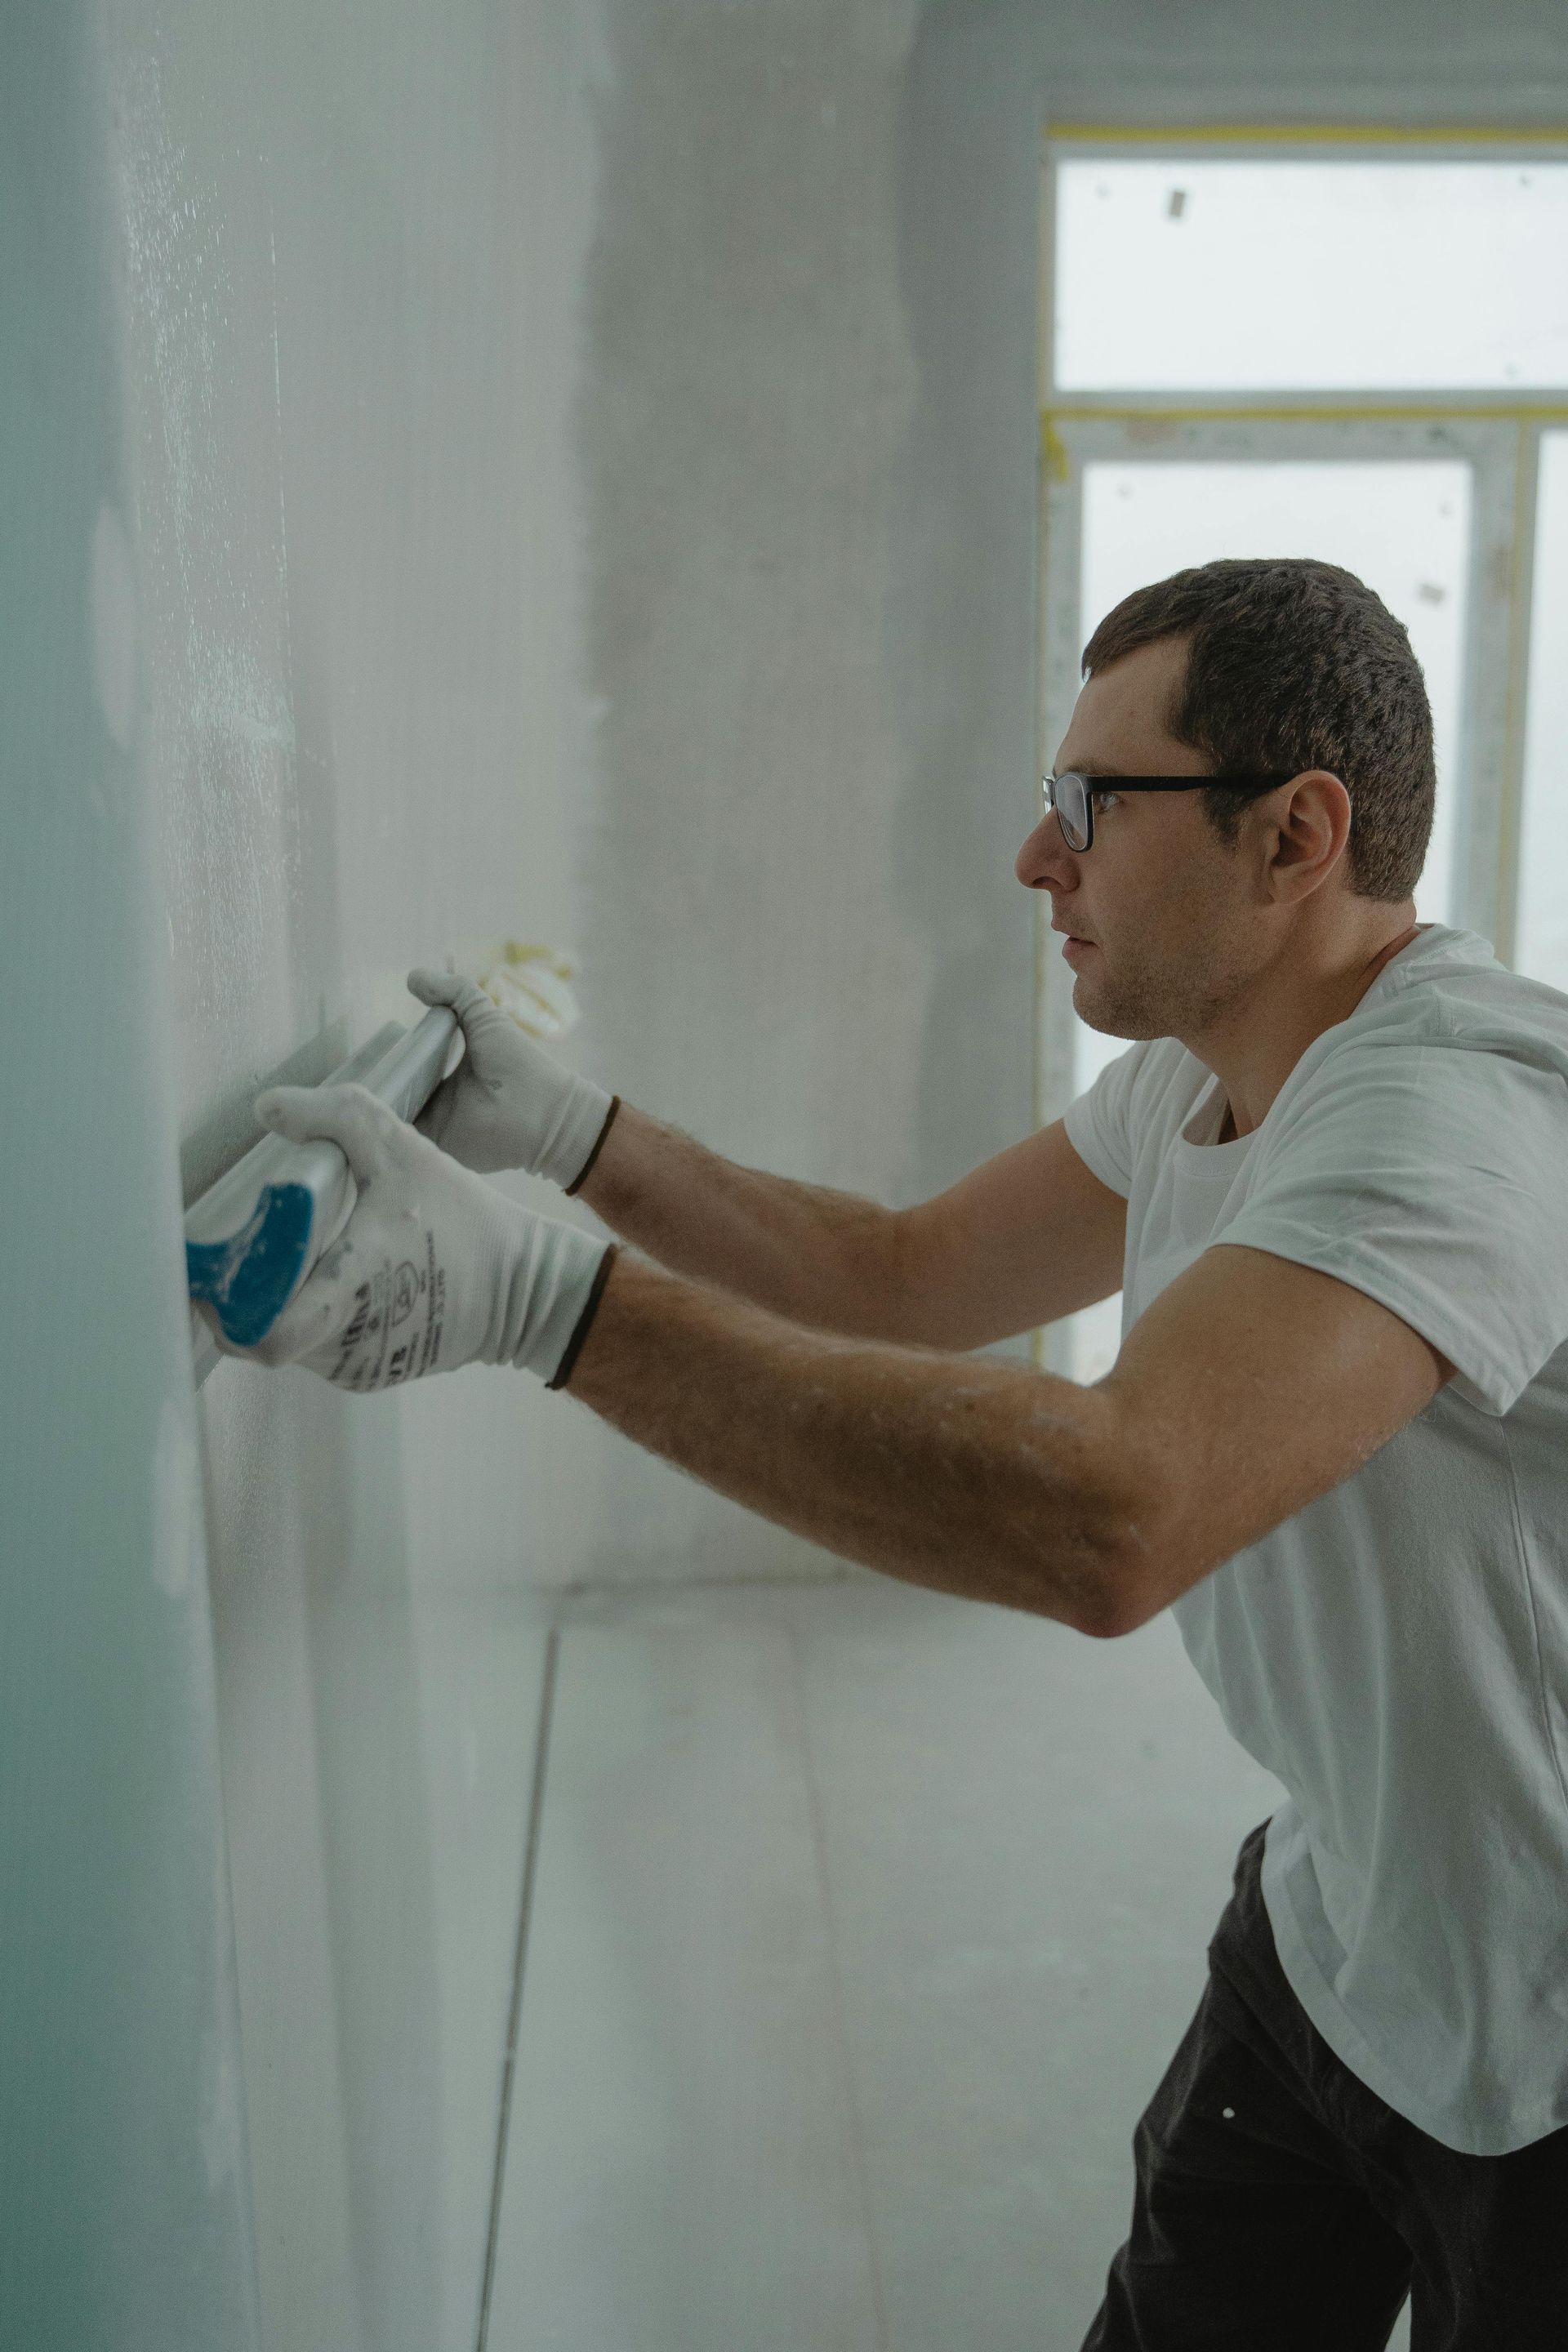
- Tape the Seams: Apply drywall tape over the seams where the new drywall meets the existing wall. This helps to reinforce the joint.
- Apply Joint Compound: Use a putty knife to spread joint compound over the taped seams and screw holes. Smooth it out evenly and let it dry.
- Sand and Repeat: Once the joint compound is dry, sand it smooth. Apply additional layers of joint compound as needed, sanding between each layer for a smooth finish.
- Finishing Touches: After the final layer is smooth and dry, paint the repaired area to match the rest of the wall.
Replacing drywall may seem daunting, but with the right tools and steps, it’s a manageable DIY project. For extensive damage or if you're unsure, consider hiring a professional to ensure a high-quality repair.
How to Prevent Future Drywall Damage?
Preventing drywall damage is easier than dealing with repairs. Here are some tips to keep your drywall in good condition.
Manage Moisture
- Fix Leaks Promptly: Regularly check for and repair any leaks in your plumbing, roof, and windows to prevent water damage.
- Control Humidity: Use dehumidifiers in damp areas like basements and bathrooms. Ensure good ventilation to keep moisture levels low.
- Waterproofing: Apply waterproof paint in areas prone to moisture, such as basements and bathrooms.
Avoid Physical Damage
- Be Careful with Furniture: When moving furniture, use pads or sliders to avoid hitting and damaging the walls.
- Childproof Your Home: Install corner guards or padding in high-traffic areas to protect walls from impacts.
Regular Maintenance
- Inspect Regularly: Periodically check your walls for signs of damage like cracks, holes, or discoloration. Early detection can prevent bigger issues.
- Address Small Issues Quickly: Fix small cracks and holes as soon as you notice them. This can prevent them from getting worse and requiring more extensive repairs.
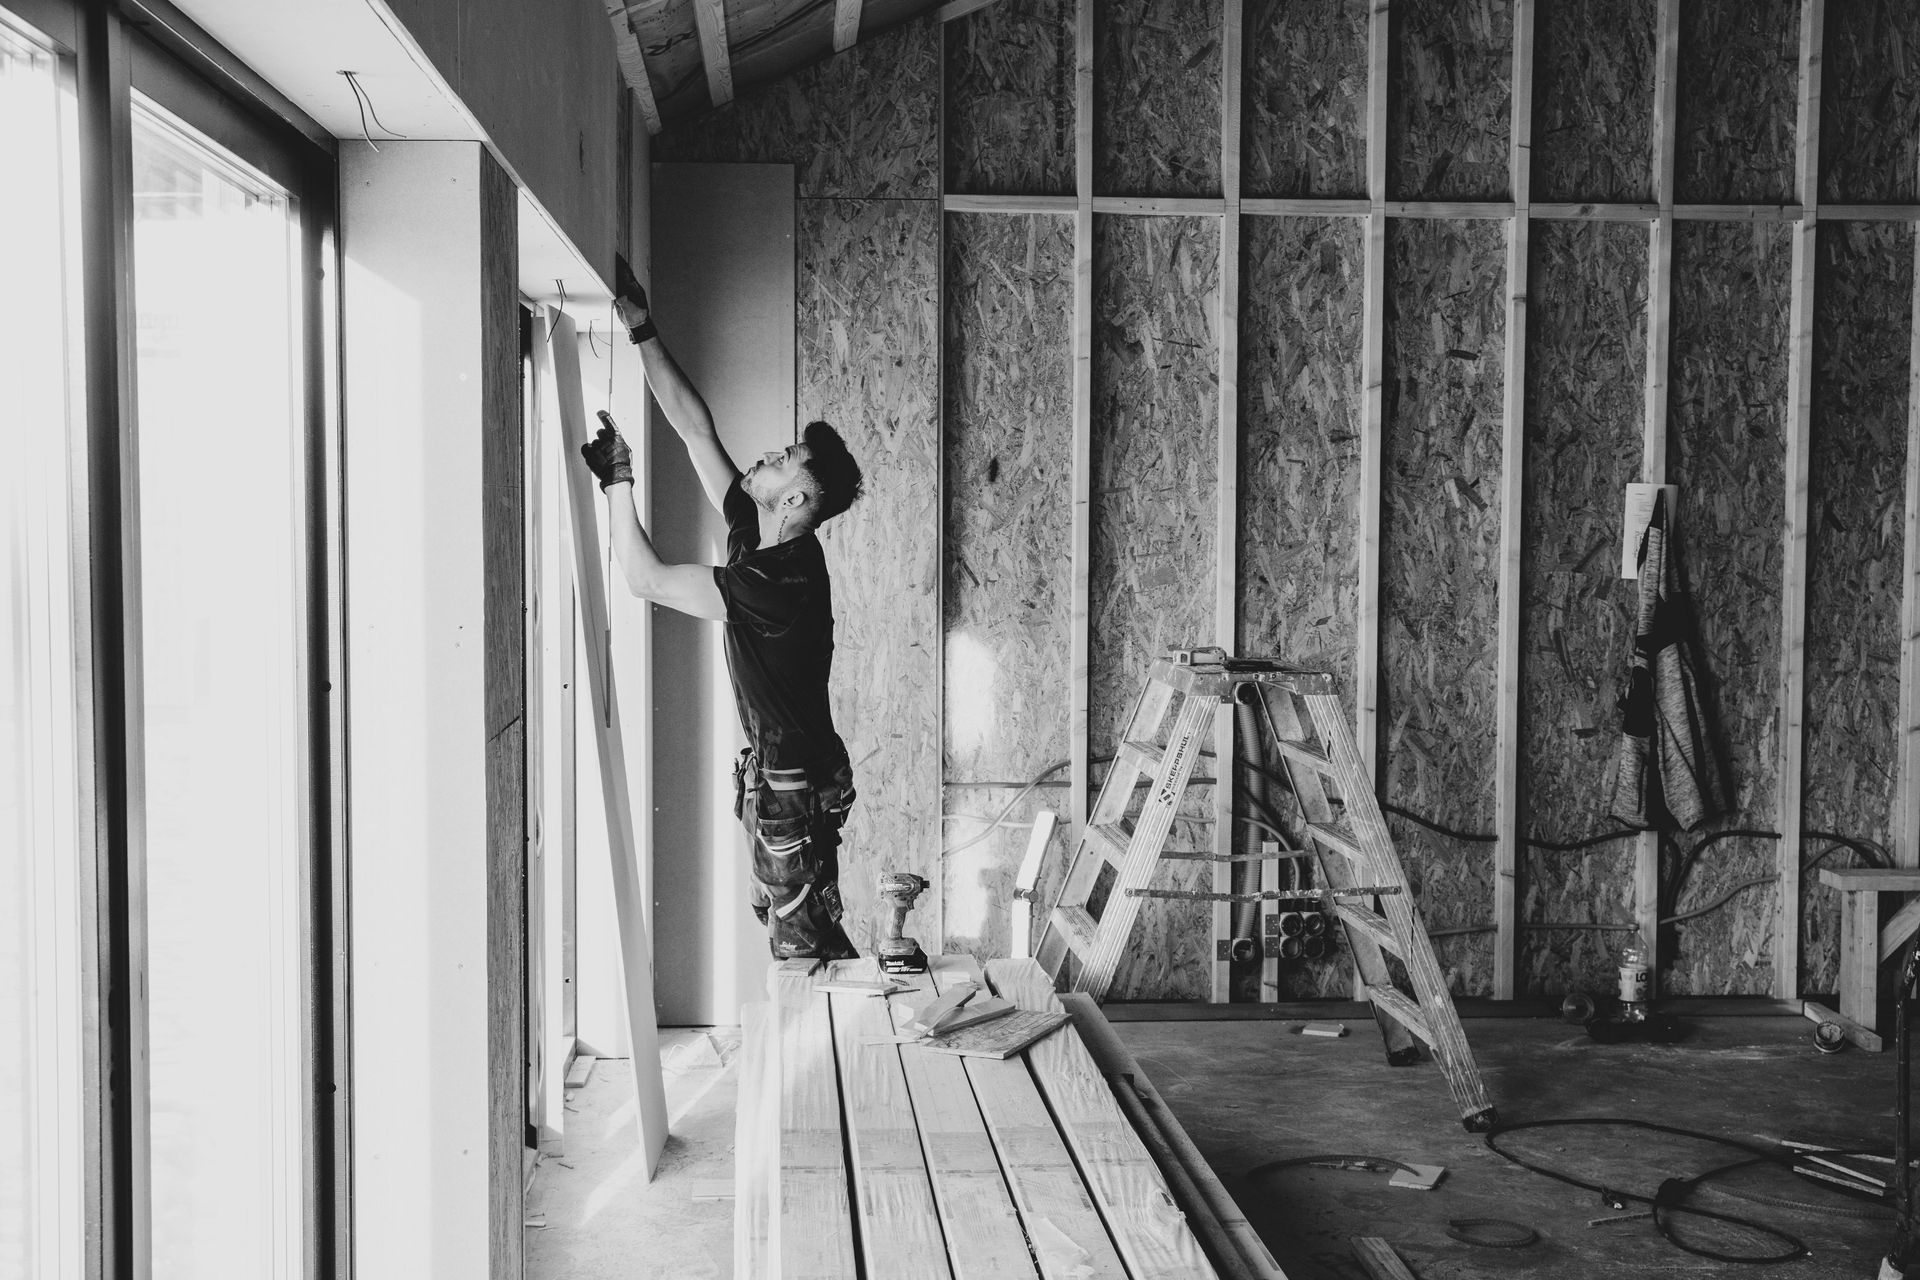
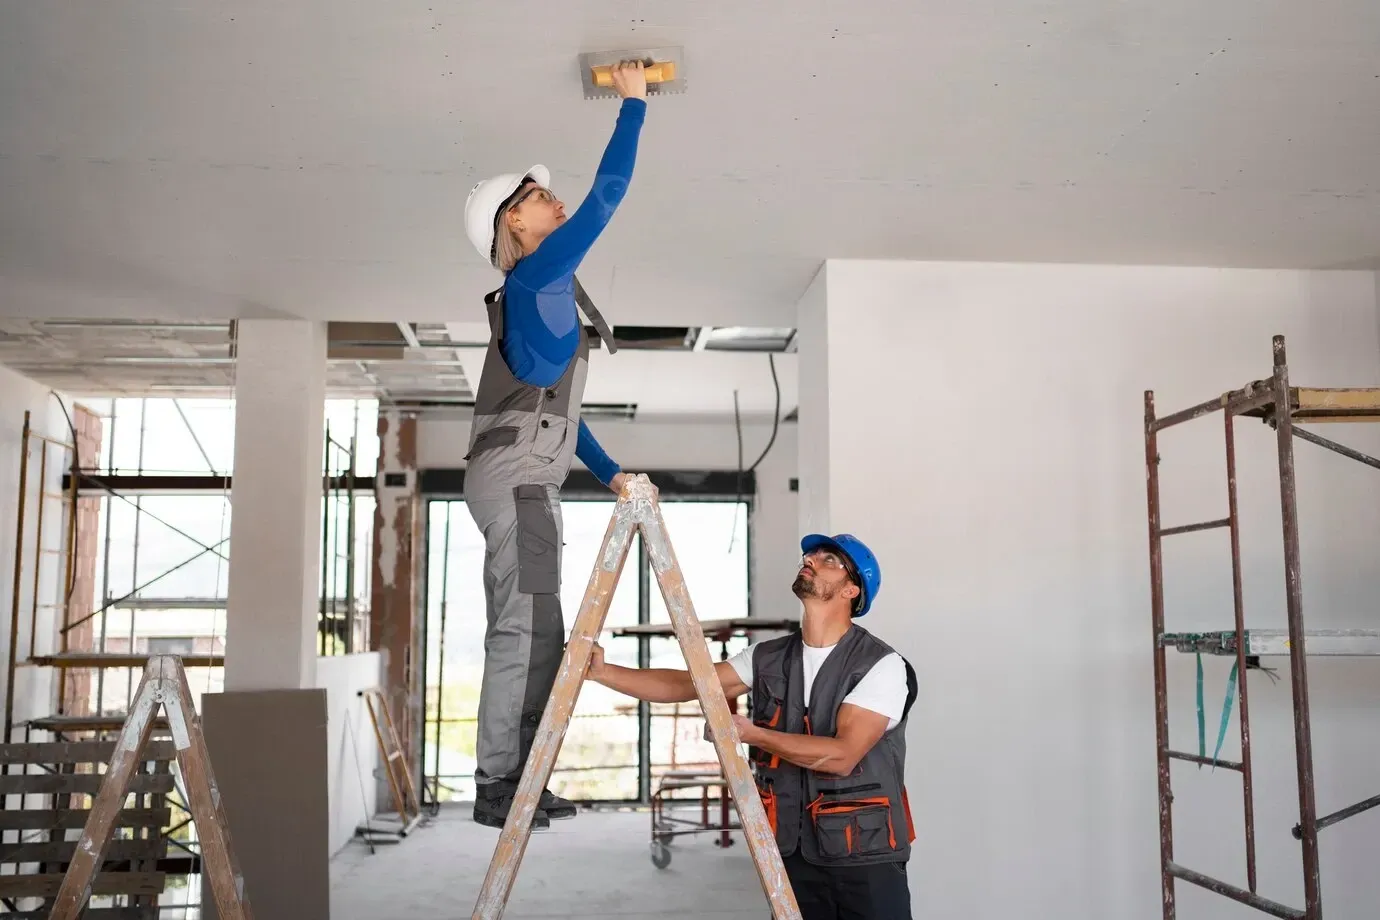
Proper Installation
- Hire Professionals: If you’re building or remodeling, hire experienced professionals to ensure the drywall is installed correctly.
- Use Quality Materials: Invest in high-quality drywall and installation materials. They are less likely to deteriorate and more resistant to damage.
By taking these preventive measures, you can extend the life of your drywall and keep your home looking great.
Conclusion
Maintaining the integrity of your drywall is crucial for the overall health and appearance of your home. Recognizing the signs of damage and knowing when to replace your drywall can save you time, money, and potential health issues.
If you notice water damage, cracks, mold, or any other signs mentioned, it's often best to replace the affected drywall. Regular maintenance and taking preventive measures can help you avoid major repairs in the future.
For more detailed information on related costs, check out our comprehensive guide on the Cost of Drywall Replacement (blog coming soon). Staying proactive and informed will ensure your walls remain sturdy, safe, and visually appealing.
Ready to give your home or business the attention it deserves? Trust Frenchie Drywall, the premier drywall contractor serving Easthampton, Springfield, Chicopee, and the surrounding areas. With years of experience and expertise, we specialize in:
- Residential Drywall
- Commercial Drywall
- Drywall Installation
- Interior Painting
Whether you're in Easthampton, Montgomery, Northampton, South Hadley, Southampton, or Westhampton, Frenchie Drywall is here to provide top-quality services to both residential homeowners and commercial business owners. Don't wait for small issues to turn into big problems. Contact Frenchie Drywall today and ensure your walls are in the best hands!
Contact Us or Get a Free Quote to learn more about how we can help you with all your drywall and painting needs.