How to Repair Drywall Cracks: Step-by-Step Patch Tips
October 3, 2024
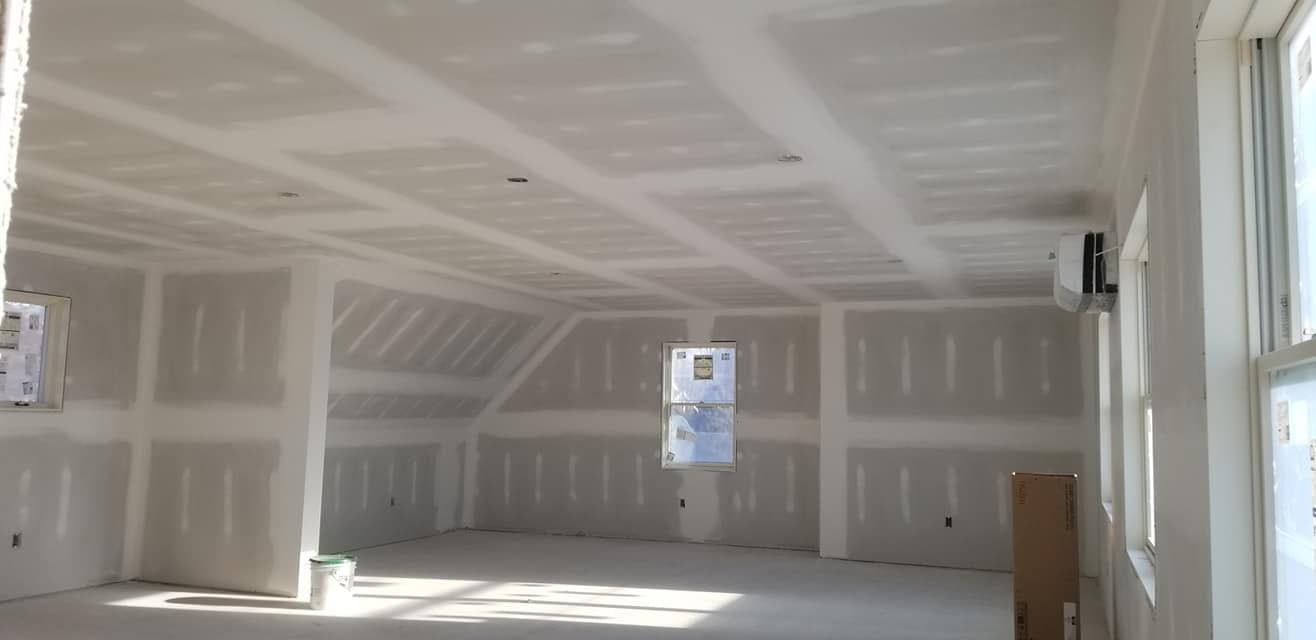
Ultimate Guide: How to Repair Drywall Cracks and Patch Like a Pro
Whether you're dealing with small cracks or larger gaps, repairing drywall is easier than you think. With the right tools and a clear process, you can fix those cracks and get a smooth finish like a pro. This guide will take you through everything you need to know, step by step, so you can handle drywall repairs confidently.
What Causes Cracks in Drywall?
Drywall cracks can show up for many reasons, and knowing what caused them can help you fix them right the first time. Cracks often happen because of natural shifts in the building, temperature changes, or moisture. Each of these factors can cause your drywall to settle, shift, or expand over time, leading to those annoying cracks.
Understanding the root cause will help you choose the best repair method, whether it's a quick patch or a more detailed fix.
How Does Drywall Settle and Crack Over Time?
As your home settles, so does your drywall. This is common, especially in new homes or after renovations. When the foundation or framing shifts, even slightly, the drywall attached to it can move. This movement creates stress points, leading to cracks. These often appear near doors, windows, or along seams where two sheets of drywall meet. While settling cracks are normal, they still need to be repaired to maintain a smooth and clean look.
Are Temperature Changes a Factor in Drywall Damage?
Yes, temperature changes can cause drywall cracks. When temperatures shift drastically, materials in your home expand and contract, including the drywall. Hot summers can make materials swell, while colder temperatures can cause them to shrink. Over time, this constant push and pull puts stress on the drywall, which may eventually crack. This is especially common in areas like attics or basements, where temperature control might be less consistent.
Can Moisture Lead to Drywall Cracks?
Absolutely. Moisture is one of the biggest culprits when it comes to drywall damage. If your home has high humidity levels or water leaks, the drywall can absorb moisture, weakening its structure. Over time, this can cause cracks, warping, or even mold. Bathrooms, kitchens, and basements are especially vulnerable to moisture-related drywall issues. If moisture is the problem, it's crucial to address the source before repairing the cracks, or you'll likely see them return.
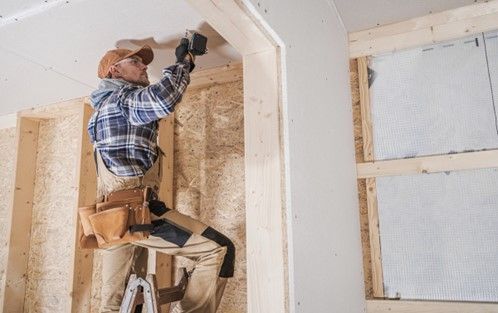
How to Repair Drywall Cracks: Step-by-Step
Fixing drywall cracks isn't complicated, but following a step-by-step process will ensure the repair lasts. Whether it's a hairline crack or something more noticeable, using the right tools and techniques makes all the difference. Here's a simple guide to get your drywall looking smooth again.
What Tools Are Needed for Repairing Drywall?
Before you get started, gather the right tools to make the job easier and ensure a clean finish. Here’s what you’ll need:
- Utility knife or drywall saw
- Sandpaper (120-150 grit)
- Joint compound (also known as drywall mud)
- Putty knife or taping knife
- Drywall tape (for larger cracks)
- Dust mask (for sanding)
- Paint and primer (to finish the job)
Having these tools on hand will set you up for a smooth repair process.
How to Widen and Clean the Crack for Repair?
Before you can patch the crack, you need to prep the area. Use a utility knife to carefully widen the crack slightly. This might seem counterintuitive, but it gives the joint compound a better surface to adhere to. Once the crack is widened, clean out any loose debris, dust, or drywall pieces. You want a clean, smooth surface to work on.
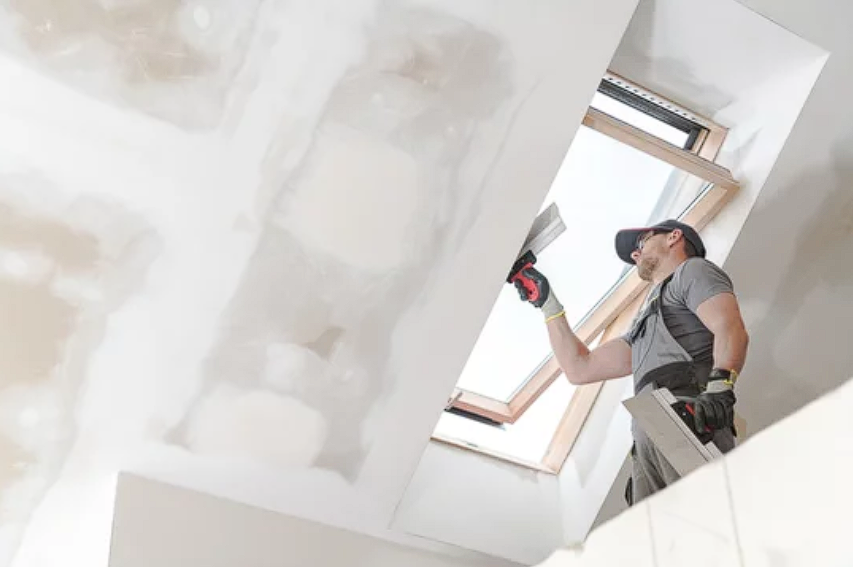
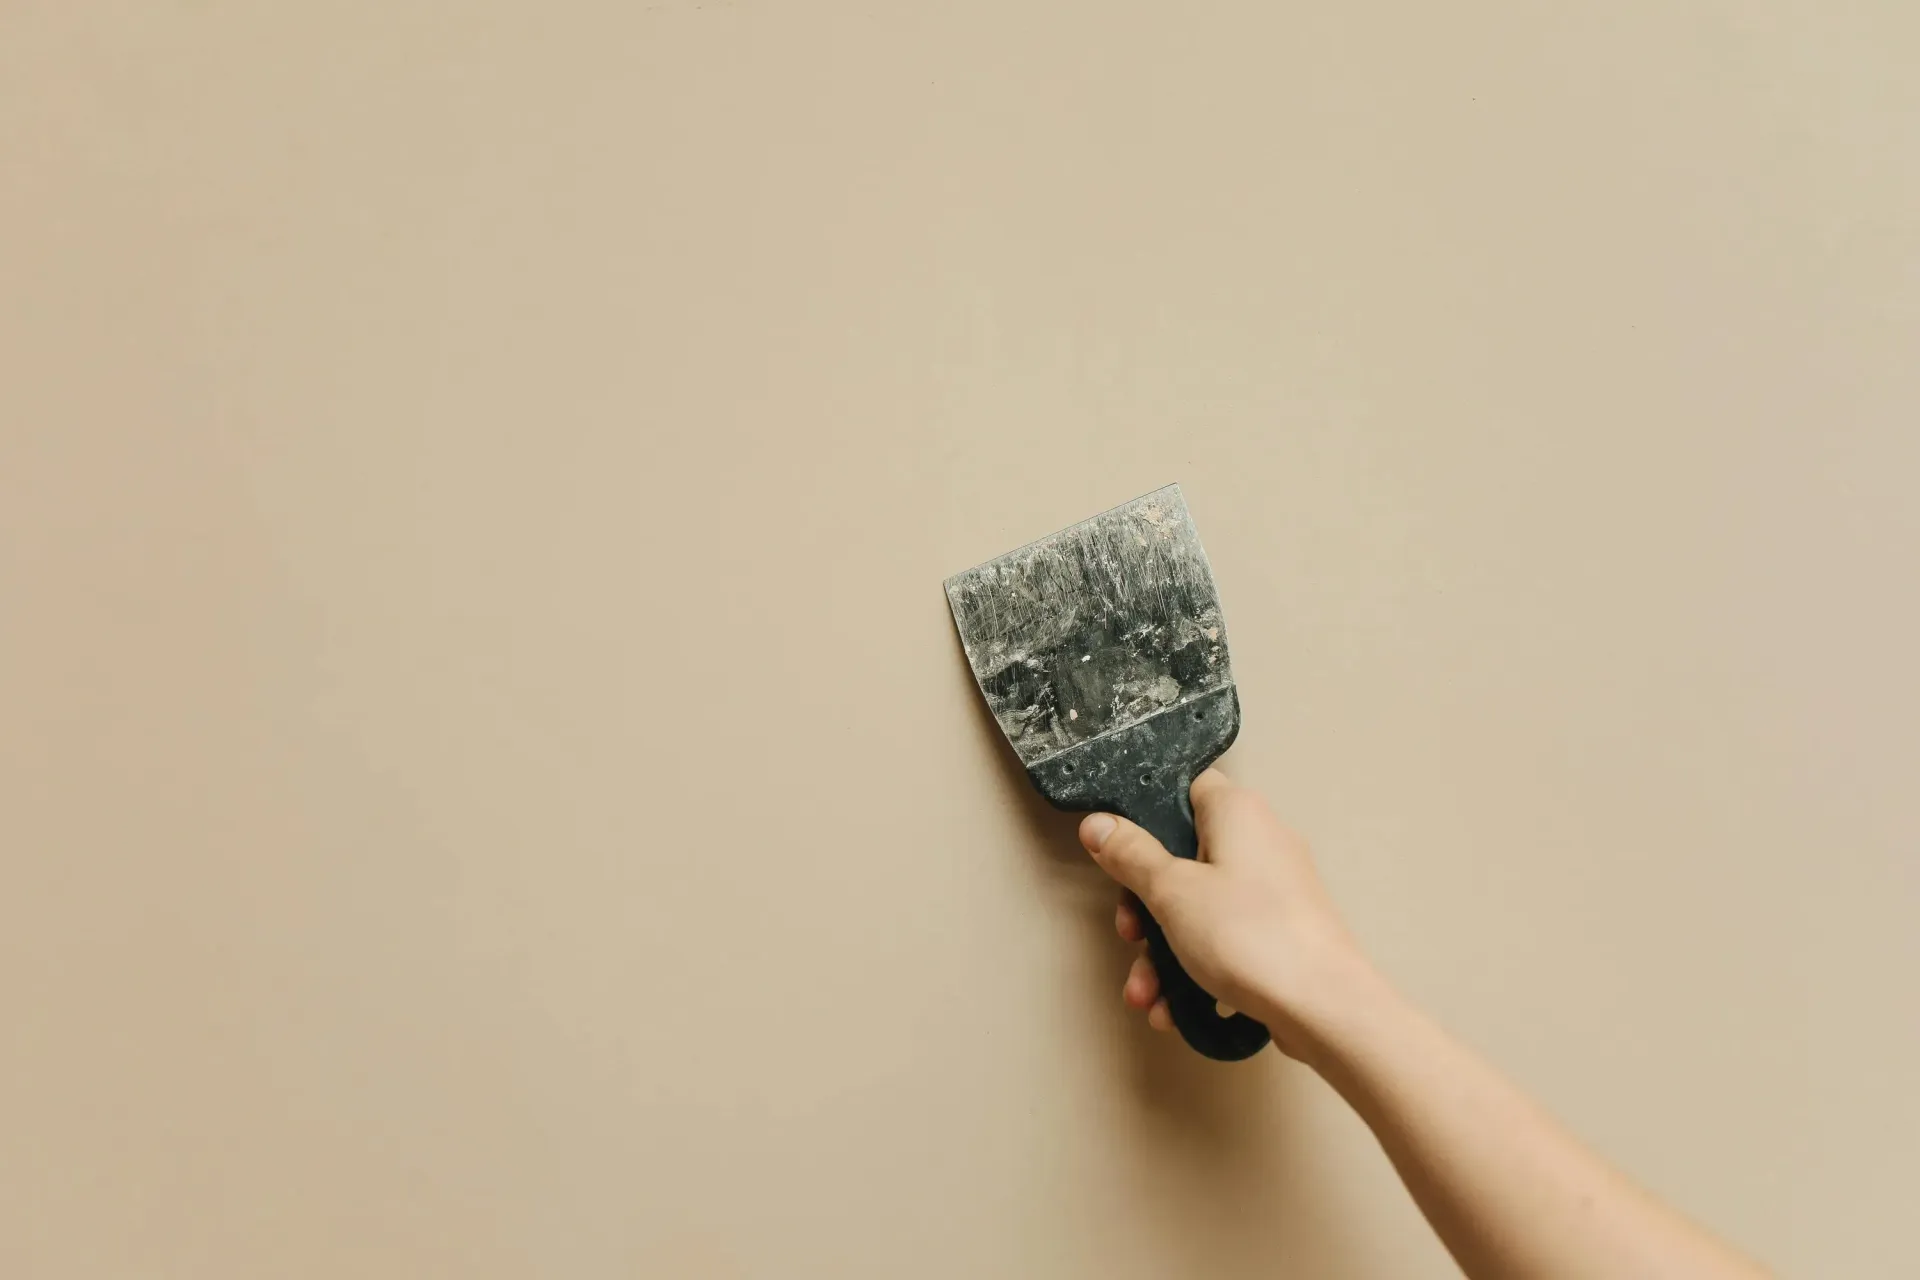
When to Apply Compound Over the Crack?
After prepping the crack, it's time to apply the joint compound. Using a putty knife, spread a thin layer of compound over the crack, making sure to press it into the gap. Smooth it out as much as possible to avoid lumps or uneven spots. If you're dealing with a larger crack, apply drywall tape over the compound to strengthen the repair, then smooth another layer of compound over the tape.
How to Let the Joint Compound Dry Properly?
Patience is key here. Let the joint compound dry completely before moving on to the next step. This can take anywhere from 24 to 48 hours, depending on the humidity and the thickness of the application. Once dry, lightly sand the area with fine-grit sandpaper to smooth out any rough spots or ridges. Wipe away dust before applying additional coats or primer.
Can I Use Drywall Tape for Cracks?
Drywall tape is a great option for larger or more persistent cracks. It reinforces the repair, preventing the crack from reappearing over time. There are different types of drywall tape available, and knowing which one to use can make a big difference in the overall finish. Let’s explore the options and how to apply them properly.
What Are the Types of Drywall Tape Available?
There are two main types of drywall tape: paper tape and fiberglass mesh tape.
- Paper tape: It’s the most common and affordable option. It works well for straight seams and provides a smooth finish when applied correctly. However, it requires joint compound to adhere, which can make it tricky for beginners.
- Fiberglass mesh tape: This tape is easier to use, as it’s self-adhesive. It’s a good option for larger cracks or repairs that need extra reinforcement. The downside is that it can be more noticeable if not applied smoothly.
Each type has its pros and cons, but both can help reinforce your drywall repair.
How to Apply Drywall Tape for a Seamless Finish?
To get a smooth, nearly invisible finish, follow these steps when applying drywall tape:
- Apply a thin layer of joint compound over the crack.
- Lay the drywall tape over the compound, making sure it's centered over the crack.
- Smooth the tape out with a putty knife, pressing it firmly into the compound.
- Apply another layer of compound over the tape, feathering the edges to blend it with the surrounding wall.
Let it dry, then sand it down for a seamless look. Adding more coats of compound, sanding between layers, helps to hide the tape even better.
Should I Use a Taping Knife for Applying Tape?
Yes, a taping knife is the best tool for applying drywall tape. Its wide, flat surface allows you to evenly press the tape into the joint compound, reducing air bubbles and uneven spots. A 6- or 8-inch taping knife is ideal for most repairs. The key is to use gentle, even pressure to keep the surface smooth while applying the tape and compound.
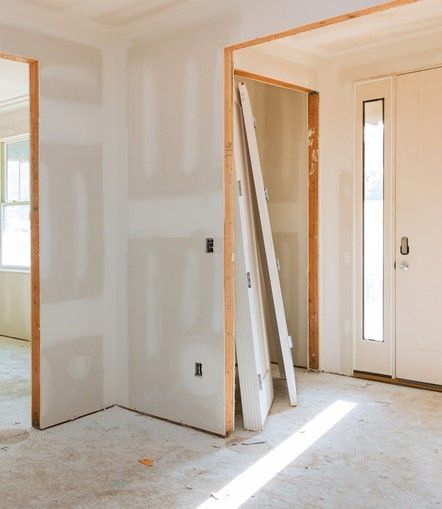
How to Patch Larger Holes in Drywall?
Fixing larger holes in drywall requires a slightly different approach than cracks. While it may seem like a bigger challenge, with the right materials and steps, you can patch large holes just as easily. This section will guide you through the process of cutting, installing, and finishing a new piece of drywall to restore your wall’s smooth surface.
What Materials Are Needed for Large Drywall Patches?
To patch larger holes, you’ll need a few extra materials beyond what you’d use for smaller cracks. Here’s what you’ll need:
- A piece of drywall (cut to fit the hole)
- Drywall saw or utility knife
- Joint compound
- Drywall screws and a drill (if attaching to studs)
- Drywall tape or mesh
- Putty knife
- Sandpaper (120-150 grit)
- Paint and primer
Having these materials on hand will make the repair process much smoother.
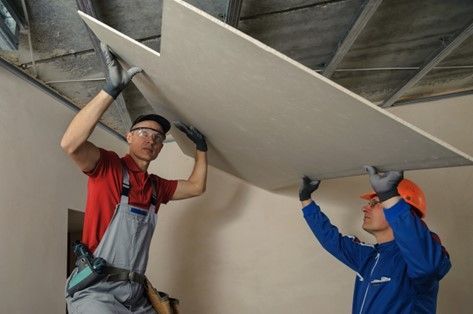
How to Cut and Install a Piece of Drywall?
- Measure the hole: Start by measuring the hole you need to patch. Cut a piece of drywall slightly larger than the hole.
- Cut out the damaged area: Use a drywall saw or utility knife to cut a clean, square or rectangular shape around the hole, making it easier to patch. Be careful not to damage any electrical wiring or plumbing behind the wall.
- Fit the new drywall piece: If the hole is large enough to reach a stud, you can screw the new piece of drywall directly into the studs for support. If not, you’ll need to attach a small piece of wood or backing inside the hole for support. Once you have the backing in place, fit the new drywall piece into the hole and secure it with drywall screws.
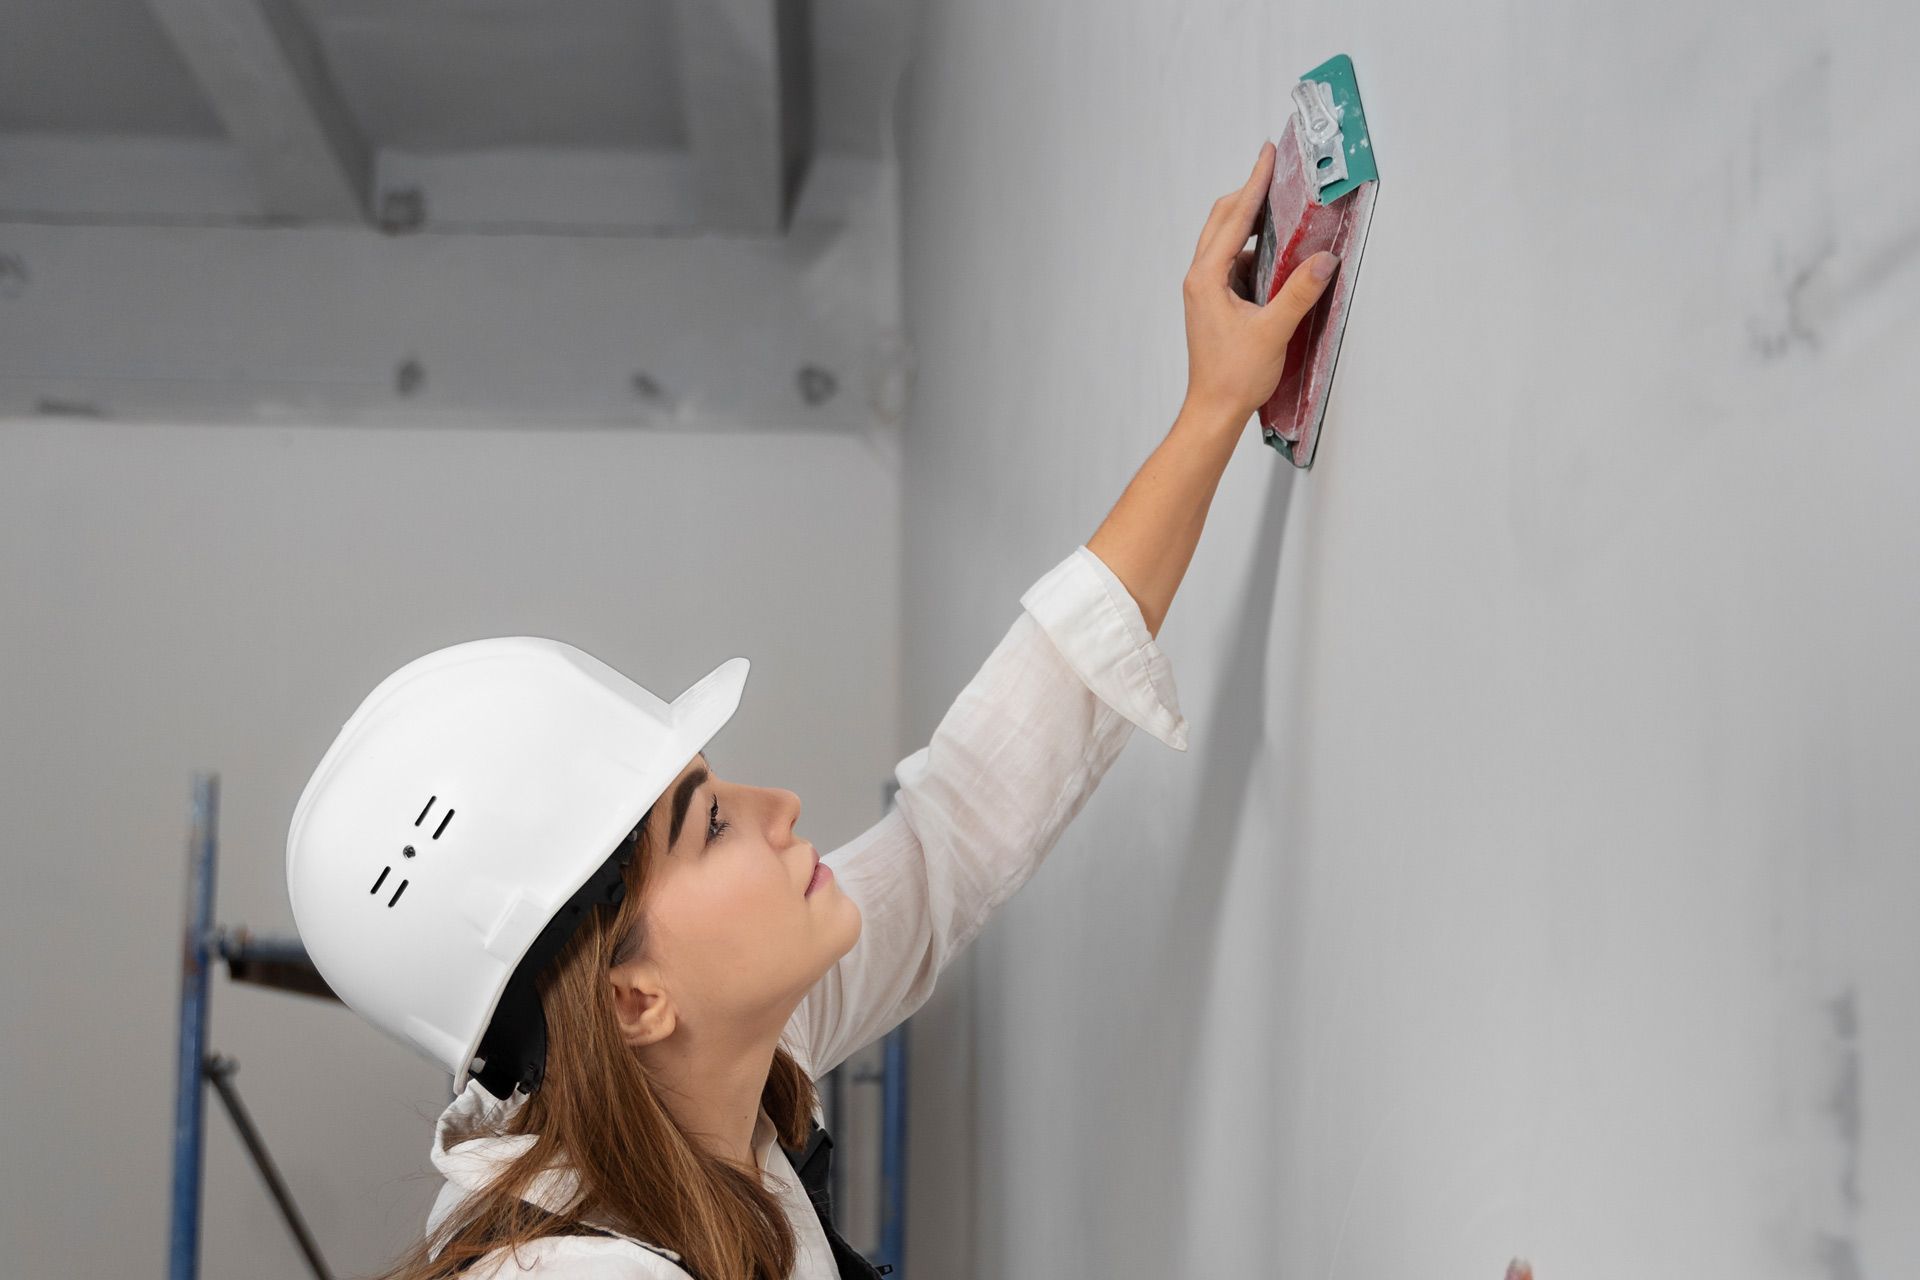
How to Sand and Finish the Patched Area?
Once the new piece of drywall is in place:
- Apply a layer of joint compound over the seams where the new drywall meets the old.
- Press drywall tape over the seams for reinforcement.
- Apply another layer of compound over the tape, feathering the edges to blend it with the wall.
- Let the compound dry completely before sanding it smooth with fine-grit sandpaper.
- Repeat the process if necessary, applying more compound and sanding until the patched area is smooth and seamless.
After sanding, you’re ready to prime and paint the patched area to match the rest of the wall.
Is a Drywall Patch Kit Effective?
Drywall patch kits can be a convenient solution for smaller repairs. They come with everything you need, including pre-cut patches, joint compound, and sometimes even a putty knife. But are they as effective as doing the repair from scratch? Let’s look at what a typical patch kit includes and when it’s best to consider using one.
What Does a Typical Patch Kit Include?
A typical drywall patch kit usually includes:
- Pre-cut patch: Often made of mesh or aluminum, designed to cover small to medium-sized holes.
- Joint compound: A small container to apply over the patch.
- Putty knife: For spreading the compound smoothly.
- Sanding pad: To smooth the area after the compound dries.
Some kits may also include primer or instructions, making it easier for beginners to complete small repairs.
How to Use a Patch Kit for Small Repairs?
Using a patch kit is simple:
- Clean the area: Make sure the damaged area is free of dust or loose debris.
- Apply the patch: Place the pre-cut patch over the hole, pressing it firmly into place.
- Apply joint compound: Spread a thin layer of joint compound over the patch, using a putty knife to smooth it out. Be sure to feather the edges to blend with the surrounding wall.
- Let it dry: Once the compound dries (usually 24 hours), lightly sand the area to achieve a smooth finish.
- Prime and paint: Finish the repair by priming and painting to match the rest of the wall.
Patch kits are great for quick fixes and small holes, but for larger damage, a more thorough approach may be needed.
When to Consider Professional Help for Drywall Repair?
While small cracks and holes are easy to handle with a patch kit, there are times when calling in a professional is the better option. Consider professional help if:
- The crack or hole is larger than 6 inches.
- The drywall damage is caused by structural issues, water damage, or mold.
- You’re unsure about handling electrical or plumbing behind the wall.
Professionals can handle complex repairs, ensuring your drywall is restored to its original condition without risking further damage.
Conclusion
Repairing drywall cracks and patching larger holes doesn’t have to be overwhelming. With the right tools and step-by-step guidance, you can tackle these repairs like a pro. From identifying the cause of the damage to applying joint compound and tape, this guide has covered everything you need to know to get your walls looking smooth and flawless again.
Don’t let cracked or damaged drywall bring down the look of your home or business. Trust the experts at Frenchie Drywall LLC to handle all your drywall needs. Whether you’re looking for fast, reliable drywall repair, professional installation, or a flawless interior painting job, their team is ready to deliver unmatched quality. Serving Easthampton, Montgomery, Northampton, South Hadley, Southampton, and Westhampton, Frenchie Drywall LLC has earned its reputation as the go-to contractor in the area.
Transform your space today—call Frenchie Drywall LLC and experience top-tier service from the region’s drywall and painting pros!
Frequently asked questions
What causes cracks in drywall?
Cracks in drywall can be caused by several factors, including settling of the house, temperature fluctuations, humidity changes, and structural movement. Doors and windows can also contribute to cracked drywall as they are common stress points.
How can I fix a crack in the drywall?
To fix a crack in the drywall, start by using a utility knife to cut along the crack and remove any loose debris. Apply a thin layer of drywall compound over the crack with a putty knife, let dry, and then lightly sand the area. Repeat with a second coat if necessary and finish with a coat of drywall paint to match the existing wall.
What tools do I need to repair drywall cracks?
To repair drywall cracks, you will need a utility knife, drywall compound, a putty knife, sandpaper, and possibly a stud finder if you are attaching drywall directly over the stud. For larger repairs, a fiberglass patch or patch kits are available at stores like Home Depot.
How do I repair large holes in drywall?
For large holes, cut into the wall around the damaged area to create a clean rectangular opening. Cut a piece of drywall to fit the hole, attach it to the wall studs using drywall screws, and apply a layer of joint compound over the edges of the patch. Smooth out the compound with a putty knife and allow the joint compound to dry before sanding and painting.
What is the best way to repair a hairline crack in drywall?
Hairline cracks are easy and inexpensive to fix. Use a putty knife to apply a thin layer of spackle or drywall joint compound over the crack. Let it dry, lightly sand the surface, and apply a second coat if needed. Finish by painting over the repaired area.
Should I use fiberglass tape or paper tape for drywall repairs?
Both fiberglass and paper tape are effective for drywall repairs. Fiberglass tape is self-adhesive and easier to work with, especially for DIY projects, while paper tape is often used by professionals for a smoother finish. Choose based on your comfort level and the specific repair needs.
Can I use caulk to fix drywall cracks?
Caulk is not recommended for fixing drywall cracks as it is not designed to adhere well to drywall surfaces. Instead, use a drywall compound or spackle, which are specifically formulated to repair drywall and provide a smooth, paintable finish
How can I tell if the drywall crack is a sign of a bigger problem?
If the crack is larger than a hairline and continues to grow, or if it reappears after repair, it might indicate a structural issue. Consider consulting a professional if you notice cracks near doors or windows, cracks that run diagonally, or if the drywall can be damaged easily in the same spot.
Is it necessary to use drywall screws when repairing drywall?
Yes, when repairing drywall, especially for larger holes, it is important to use drywall screws to securely attach the new drywall to the wall studs. This ensures the repaired area is stable and plumb with the existing wall surface.
What should I do if I don't feel confident in repairing drywall myself?
If you're not confident in your ability to fix cracks in drywall, consider hiring a professional. A professional fix can ensure the repair is done correctly and blends seamlessly with the existing wall. Alternatively, Home Depot and other home improvement stores offer classes to learn how to fix drywall issues yourself.