How to Patch a Hole in Drywall – Step-by-Step DIY Guide
September 10, 2024
When you accidentally knock a hole into your drywall, it can feel like a big deal. But the truth is, patching a hole in drywall is a simple DIY task. Whether it's a small nail hole or something larger, this guide will walk you through how to fix it quickly and easily. We'll break down the process for different sizes of holes so you can get your walls looking as good as new.
Tools & Materials You’ll Need Before You Start
Before jumping into the repair, it’s important to gather the right tools and materials. This step saves you time and makes the process smoother.
Tools
- Drywall knife or utility knife (for cutting and applying compound)
- Sandpaper or sanding sponge (for smoothing the patch)
- Putty knife (for applying spackle or compound)
- Drill (only if you need to screw in a backing board)
Materials
- Drywall patch kit (or mesh tape for medium holes)
- Drywall compound or spackle (for filling holes)
- Drywall screws (for securing large patches)
- Primer and paint (to match your wall)
How to Patch a Small Hole in Drywall (1/2 inch or smaller)
Small holes, like those from nails or screws, are the easiest to fix. You don’t need any special skills or expensive tools. Here’s a quick, straightforward process to get it done.
Step 1: Clean the Hole
Before patching, make sure the hole is free of debris or loose drywall. You can use the edge of your utility knife or even your finger to brush it clean.
Step 2: Apply Spackle or Pre-mixed Drywall Compound
Grab your putty knife and scoop a small amount of spackle or drywall compound. Press it into the hole, making sure to fill it completely. Don’t worry about being too neat—just make sure the hole is filled.
Step 3: Smooth the Surface
Once the hole is filled, use your putty knife to smooth out the surface. Try to blend the compound with the wall to avoid creating any bumps. You want it to be as flush as possible.
Step 4: Let It Dry
Let the patch dry for the time recommended on the spackle or compound package. This is usually anywhere from 1 to 5 hours depending on the product.
Step 5: Sand It Smooth
Once it’s dry, take your sandpaper or sanding sponge and gently smooth the area. Be careful not to sand too much—you just want to get rid of any uneven spots.
Step 6: Prime and Paint
After sanding, prime the patched area and paint over it to match the rest of your wall. Your small hole is now completely patched, and you can’t even tell it was there!
How to Patch Medium Holes in Drywall (1-4 inches)
Medium-sized holes, like the ones caused by door handles or accidental bumps, need a bit more work. But don’t worry, it’s still a manageable DIY job. Here’s how to tackle it.
Step 1: Cut a Clean Hole
Use your utility knife to cut a clean square or rectangular shape around the damaged area. This will make it easier to patch. Be sure to remove any loose drywall or debris.
Step 2: Apply a Mesh Patch or Adhesive Patch
For holes of this size, you’ll want to use a mesh patch or an adhesive patch from a drywall kit. Place the patch over the hole, making sure it covers the damaged area entirely. These patches are self-adhesive, so just press it firmly onto the wall.
Step 3: Cover with Joint Compound
Using your putty knife, apply a layer of joint compound over the mesh patch. Spread it evenly, making sure to cover the edges of the patch. You don’t want any part of the patch to be visible once the compound dries.
Step 4: Smooth the Compound
While the compound is still wet, smooth it out as much as possible. The goal is to blend it with the surrounding wall, so use long, even strokes with your putty knife.
Step 5: Let It Dry
Allow the compound to dry completely. This could take a few hours, depending on the type of compound you’re using.
Step 6: Sand It Smooth
Once it’s dry, gently sand the patched area to remove any bumps or ridges. Make sure the patch is flush with the wall so it doesn’t stand out after painting.
Step 7: Prime and Paint
Finally, prime the patched area and then paint over it to match the rest of your wall. With a smooth finish and a fresh coat of paint, no one will know the hole was ever there!
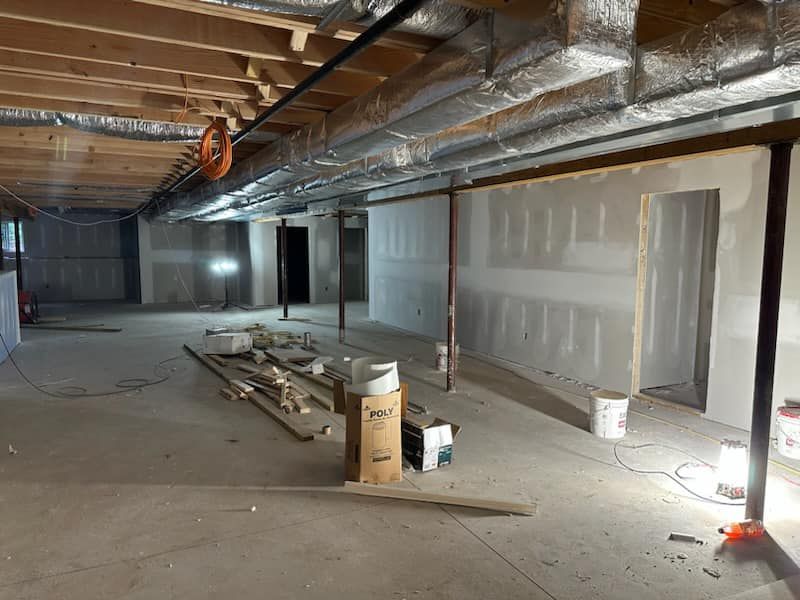
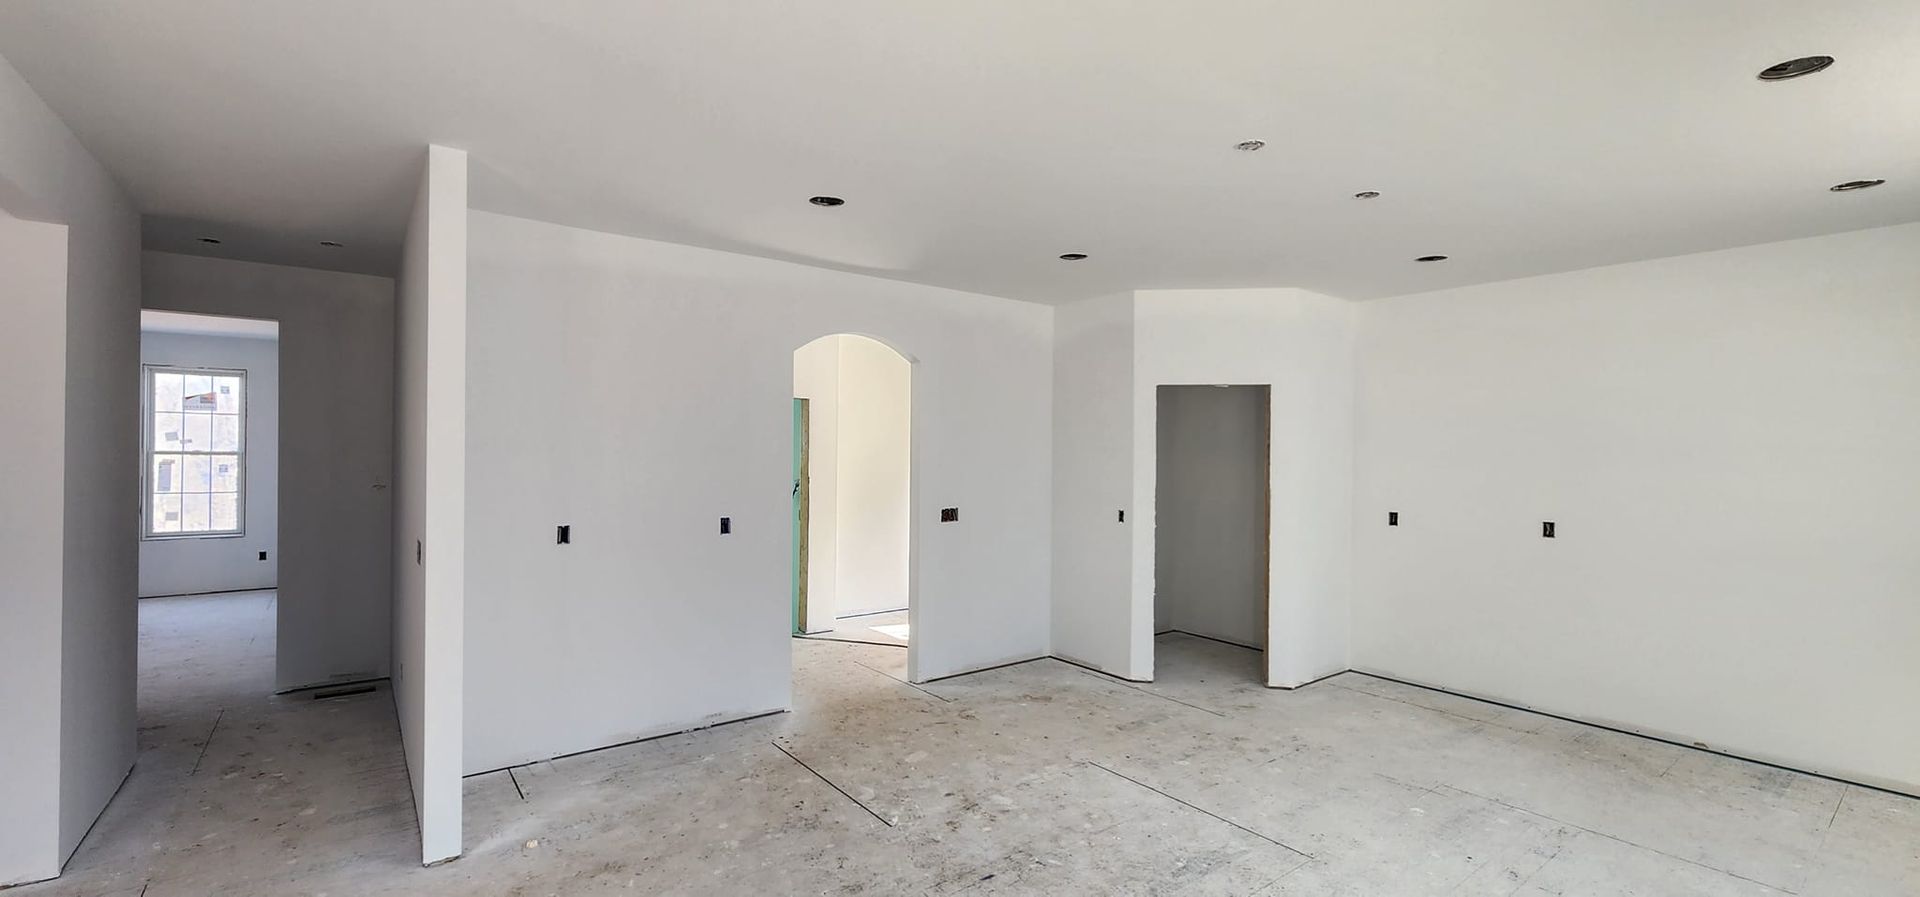
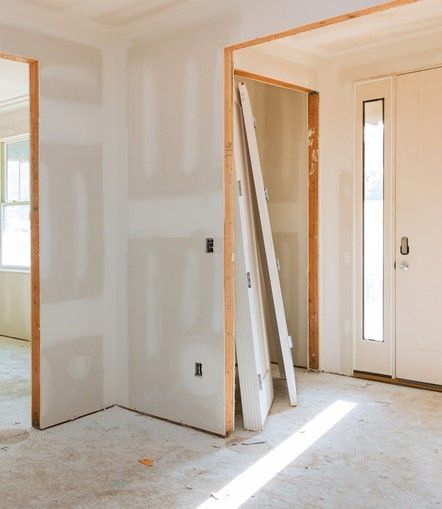
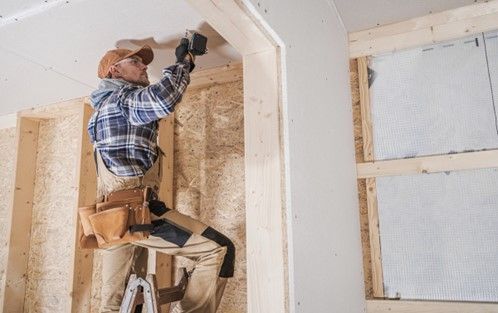
How to Fix Large Holes in Drywall (Over 4 inches)
Large holes, like those from accidents or moving furniture, require a bit more effort. These repairs often need more materials and a careful approach, but it’s still something you can do yourself.
Step 1: Cut Out the Damaged Area
Start by cutting a clean, square shape around the damaged area using your utility knife. Make sure the hole is large enough to remove any broken or crumbling drywall. It’s easier to work with a neat square or rectangle than an irregular hole.
Step 2: Insert a Backer Board (Optional for Very Large Holes)
For large holes, you may need to add a backer board for support. Cut a piece of wood slightly larger than the hole and place it inside the wall. Secure it with drywall screws from the outside to give your patch something to attach to.
Step 3: Cut and Fit a New Piece of Drywall
Next, cut a new piece of drywall to fit the hole. You can use the piece you cut out as a template, or measure and cut a new piece. Make sure it fits snugly into the hole.
Step 4: Secure the Patch
Screw the new piece of drywall into place, either into the backer board or directly into the wall studs. Make sure it’s secure but don’t over-tighten the screws, as this can crack the drywall.
Step 5: Tape the Edges
Apply drywall tape around the edges of the patch to help blend it into the surrounding wall. Use mesh tape for a stronger hold.
Step 6: Apply Joint Compound
Spread joint compound over the tape and the edges of the patch using your putty knife. Apply thin layers, smoothing it out as much as possible. You may need to do a few coats, letting each one dry completely before applying the next.
Step 7: Sand and Smooth
Once the compound is fully dry, sand the area until it’s smooth and flush with the rest of the wall. Don’t rush this step; a good sanding job is key to making the patch invisible.
Step 8: Prime and Paint
After sanding, prime the area to seal it. Once the primer is dry, paint over the patch to match the rest of your wall. With a good paint job, your large hole will be completely hidden.
Tips for a Professional-Looking Finish
Getting a smooth, seamless patch isn’t just about filling the hole—it’s about making sure it blends perfectly with the rest of your wall. These tips will help you achieve a finish that looks like it was done by a pro.
Tip 1: Sand in Circular Motions
When sanding the patched area, use circular motions to avoid creating any sharp edges or uneven spots. Be gentle, especially around the edges of the patch, to make the transition between the new and old drywall seamless.
Tip 2: Use Thin Layers of Joint Compound
Instead of applying one thick layer of joint compound, use multiple thin layers. Thick layers take longer to dry and are harder to smooth out. Thin layers dry faster and are easier to work with, resulting in a smoother finish.
Tip 3: Feather the Edges
When you’re applying the compound, use a feathering technique to blend the edges. This means pressing harder on the edges of the patch and lighter in the center, gradually thinning out the compound as you move outward. It helps to create an even surface.
Tip 4: Don’t Skip the Primer
Primer is essential to ensure the patched area doesn’t stand out. Without it, the paint can soak into the joint compound unevenly, leaving a visible patch. Always prime before painting.
Tip 5: Match the Paint Perfectly
Even if your patch is perfect, mismatched paint will make it stand out. Use leftover paint from the original job, or take a small paint sample to the store to get a match. If the wall hasn’t been painted in a while, consider repainting the entire section for a uniform look.
Following these tips will help you achieve a flawless finish, making your repair job practically invisible.
Common Mistakes to Avoid When Patching Drywall
Even though patching drywall is a relatively easy task, it’s also easy to make mistakes that can leave the repair looking obvious or poorly done. Here are some common mistakes and how to avoid them.
Mistake 1: Over-Sanding the Patch
Sanding is essential for a smooth finish, but over-sanding can cause you to remove too much compound, creating dips or uneven surfaces. Always sand gently and stop once the patch is flush with the wall. If you sand too much, you might need to reapply the compound.
Mistake 2: Using Too Much Compound
It’s tempting to apply a thick layer of joint compound to cover the hole in one go, but this often leads to a lumpy or uneven finish. Stick to thin layers, applying multiple coats as needed, and smooth each layer before it dries.
Mistake 3: Not Letting the Compound Dry Completely
Patience is key when patching drywall. Rushing through the drying process can lead to cracks or peeling later on. Always follow the drying times on the compound’s packaging, and don’t sand or paint until it’s fully dry.
Mistake 4: Skipping the Primer
Skipping primer is a common mistake that can lead to visible patches after painting. Primer helps the paint adhere evenly and prevents the patched area from looking different from the rest of the wall. Always use primer, especially when patching larger holes.
Mistake 5: Failing to Secure the Patch Properly
For larger holes, it’s important to make sure the new drywall piece or mesh patch is securely fastened. If it’s not attached properly, the patch can shift or crack over time, undoing all your hard work.
Avoiding these mistakes will save you time and frustration, and ensure that your drywall repair looks clean and professional.
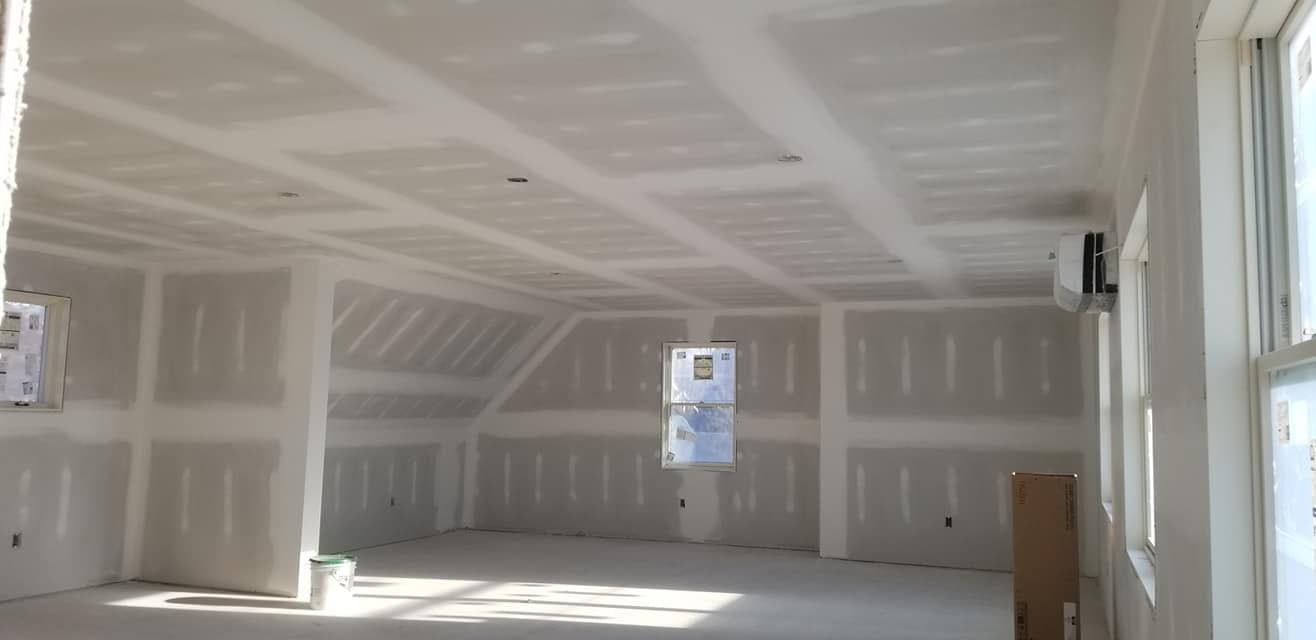
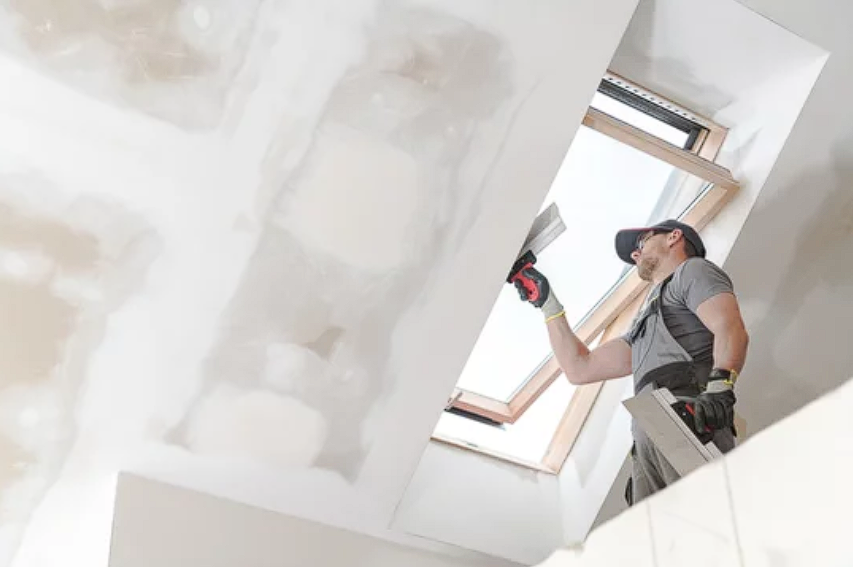
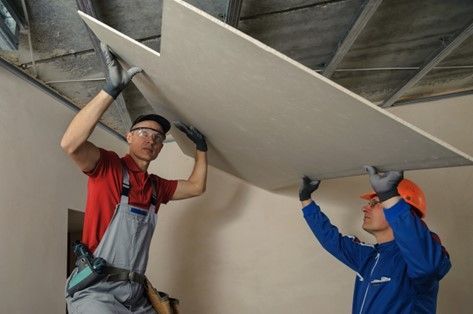
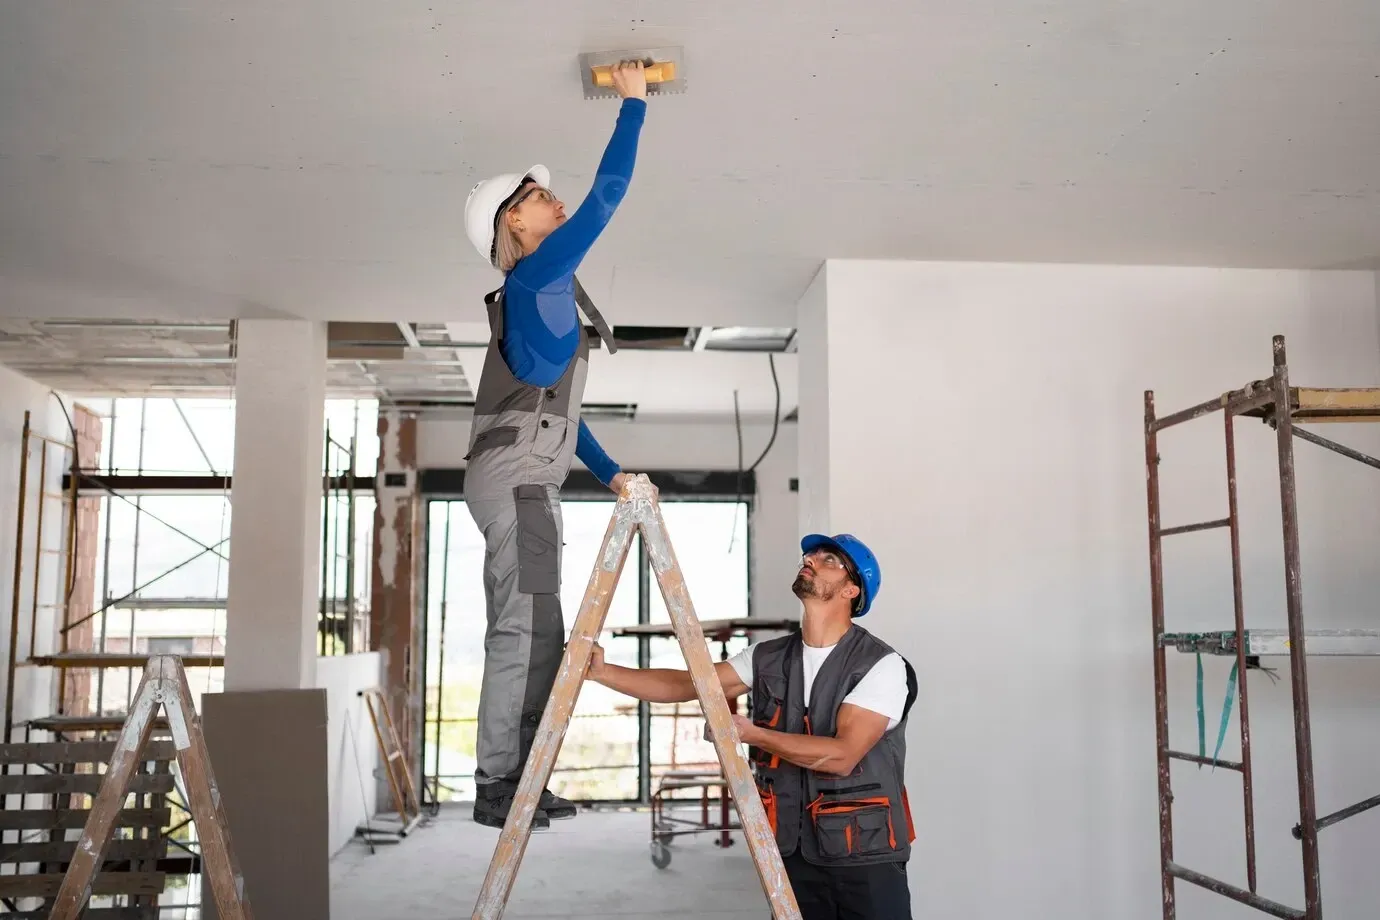
How to Patch a Drywall Ceiling
Patching a hole in a drywall ceiling follows a similar process to fixing a wall, but working overhead adds an extra challenge. Here’s how to repair a ceiling hole the right way.
Step 1: Cut a Clean Hole
Use a utility knife to cut a neat square or rectangle around the damaged area. This will make it easier to patch, just like with wall repairs. Be sure to remove any loose or crumbling drywall.
Step 2: Attach a Support Board
For ceiling repairs, you’ll likely need extra support. Cut a piece of wood slightly larger than the hole and secure it inside the ceiling cavity using drywall screws. This backing will hold the new drywall piece in place.
Step 3: Cut and Fit a New Piece of Drywall
Cut a new piece of drywall to fit the hole. Make sure it fits snugly into the opening. For ceiling repairs, it's even more important that the drywall is tightly secured to prevent sagging.
Step 4: Secure the Drywall Patch
Screw the new piece of drywall into the support board or into the ceiling joists. Make sure it’s firmly in place but avoid over-tightening, which could crack the patch.
Step 5: Apply Drywall Tape and Compound
Cover the edges of the new patch with drywall tape, then spread joint compound over the tape and surrounding area. Use thin layers and feather the edges to blend the patch with the ceiling.
Step 6: Sand and Smooth
Once the compound is dry, sand the area until it’s smooth and even with the rest of the ceiling. Be careful when sanding overhead to avoid excess dust falling down.
Step 7: Prime and Paint
Prime the patched area to prepare it for painting. Once the primer is dry, paint the area to match the rest of the ceiling. Make sure to apply two coats of paint for a smooth finish.
Repairing a drywall ceiling may take a bit more effort, but following these steps will help ensure a clean, seamless result.
When to Call a Professional for Drywall Repairs
While patching small and medium holes in drywall is often a simple DIY project, there are times when calling in a professional makes sense. Here’s when you should consider getting expert help:
Large or Extensive Damage
If you’re dealing with a large hole or multiple holes that cover a significant area, it may be more than just a simple patch job. Large holes often require new drywall installation, which can involve cutting out and replacing large sections. A professional can handle these bigger jobs efficiently, ensuring the repair is structurally sound.
Structural or Water Damage
If the damage to your drywall is the result of water or structural issues, a patch won’t fix the root problem. You’ll need to address the underlying cause before repairing the drywall. Professionals can assess the extent of the damage and make sure it’s properly resolved to prevent future issues.
Matching Complex Wall Textures
If your wall has a unique texture, such as popcorn or stucco, it can be difficult to replicate that look on your own. Professionals have the tools and experience to match even the most complex wall textures, ensuring your repair blends seamlessly with the rest of the wall.
Electrical or Plumbing Behind the Wall
If your drywall damage is near electrical wiring or plumbing, you should call a professional. Cutting into walls with wiring or pipes can be dangerous, and a professional will know how to safely handle these situations.
Time Constraints
Sometimes, it’s just about convenience. If you don’t have the time to complete the repair or you’re not confident in your ability to get a professional-looking finish, hiring a pro can save you time and hassle.
While small repairs are manageable on your own, don’t hesitate to call in a professional for larger or more complex jobs. It’s often worth the cost to ensure the job is done right.
Best Drywall Patch Kits for DIY Repairs
Using a drywall patch kit can make your repair job quicker and easier, especially if you're not experienced with drywall. These kits typically include everything you need, from mesh patches to joint compound. Here are some of the best types of drywall patch kits for different needs:
Lightweight Spackle Kits
For small holes like nail or screw holes, lightweight spackle kits are ideal. These kits are simple to use and often come with a small tub of spackle and a putty knife. Lightweight spackle dries quickly and sands easily, making it perfect for minor repairs.
Mesh Repair Kits for Medium Holes
If you're dealing with a medium-sized hole, mesh repair kits are your best bet. These kits include a self-adhesive mesh patch that sticks directly over the hole. The kit usually comes with joint compound and a putty knife. Mesh patches provide extra strength to the repair and work well for holes up to 4 inches wide.
Full Drywall Replacement Kits
For large holes that require a new piece of drywall, full replacement kits are available. These kits often include everything from a pre-cut piece of drywall to mesh tape, joint compound, and even drywall screws. They’re ideal for DIYers tackling larger holes but who want to avoid the hassle of cutting and measuring drywall themselves.
Pre-Mixed Joint Compound Kits
Pre-mixed joint compound kits are great for beginners who don’t want to deal with mixing compound. These kits come with everything prepped and ready, making the process less messy and more straightforward. Pre-mixed kits are also useful for repairs where you need to build up layers of compound over time.
Pro Tip: Look for All-in-One Kits
For convenience, choose kits that come with everything you need—patch, joint compound, and tools. All-in-one kits save you trips to the store and ensure you have the right materials for the job.
No matter the size of the hole, there’s a drywall patch kit that fits your needs. These kits are designed to make DIY repairs easy, even if you don’t have a lot of experience.
Conclusion
Patching drywall is a straightforward task when you follow the right steps. Whether you’re dealing with small nail holes or large damage, this guide provides the tools and tips you need to get the job done. While DIY drywall repair can save time and money, there are times when calling a professional ensures a flawless result, especially for larger jobs or intricate wall textures.
If you're in need of expert drywall services, look no further than Frenchie Drywall.
As the premier drywall contractor serving Easthampton, Springfield, Chicopee, and surrounding areas, Frenchie Drywall has the experience and skill to handle all your drywall needs, from residential repairs to commercial installations.
With years of expertise, we specialize in making your walls look brand new, no matter the size of the job. Ready to get started? Contact Frenchie Drywall today for a free estimate and let us help you bring your space back to life.