Drywall Repair, Drywall Contractor and Drywall Installation in Easthampton, Springfield, Chicopee and surrounding areas
Francois Turgeon (Owner)
Steve Grondin (Owner)
Drywall Repair, Drywall Contractor and Drywall Installation in Easthampton, Springfield, Chicopee and surrounding areas
Francois Turgeon (Owner)
Steve Grondin (Owner)
Can You Install Drywall Over Existing Walls? A Step-by-Step Guide
Updating old walls can be a big job, but tearing them down isn’t always necessary. Many homeowners want a smoother, cleaner look without the mess of demolition. Installing new drywall over existing walls can be a great solution, but only if the walls are in good condition.
So, can you install drywall over existing walls? Yes, you can, as long as the surface is stable, dry, and free of major damage. This method works well for covering plaster, wood paneling, or older drywall, saving time and reducing labor costs. However, it’s not the best choice if the walls have moisture issues, mold, or structural damage.
This guide will walk you through when drywalling over existing walls makes sense, how to do it correctly, and common mistakes to avoid. Whether you’re a DIYer or considering hiring a pro, you’ll find everything you need to get the job done right.
When Is It Okay to Install Drywall Over Existing Walls?
Installing drywall over old walls can save time and effort, but it’s not always the right choice. Before you start, it’s important to check if your walls are in good enough shape to handle the extra layer.
Walls That Work for Drywall Installation
You can install drywall over:
- Plaster walls – As long as they are not crumbling or separating from the lath.
- Wood paneling – If it’s secure, flat, and free of warping.
- Older drywall – If it has minor dents or holes but no structural damage.
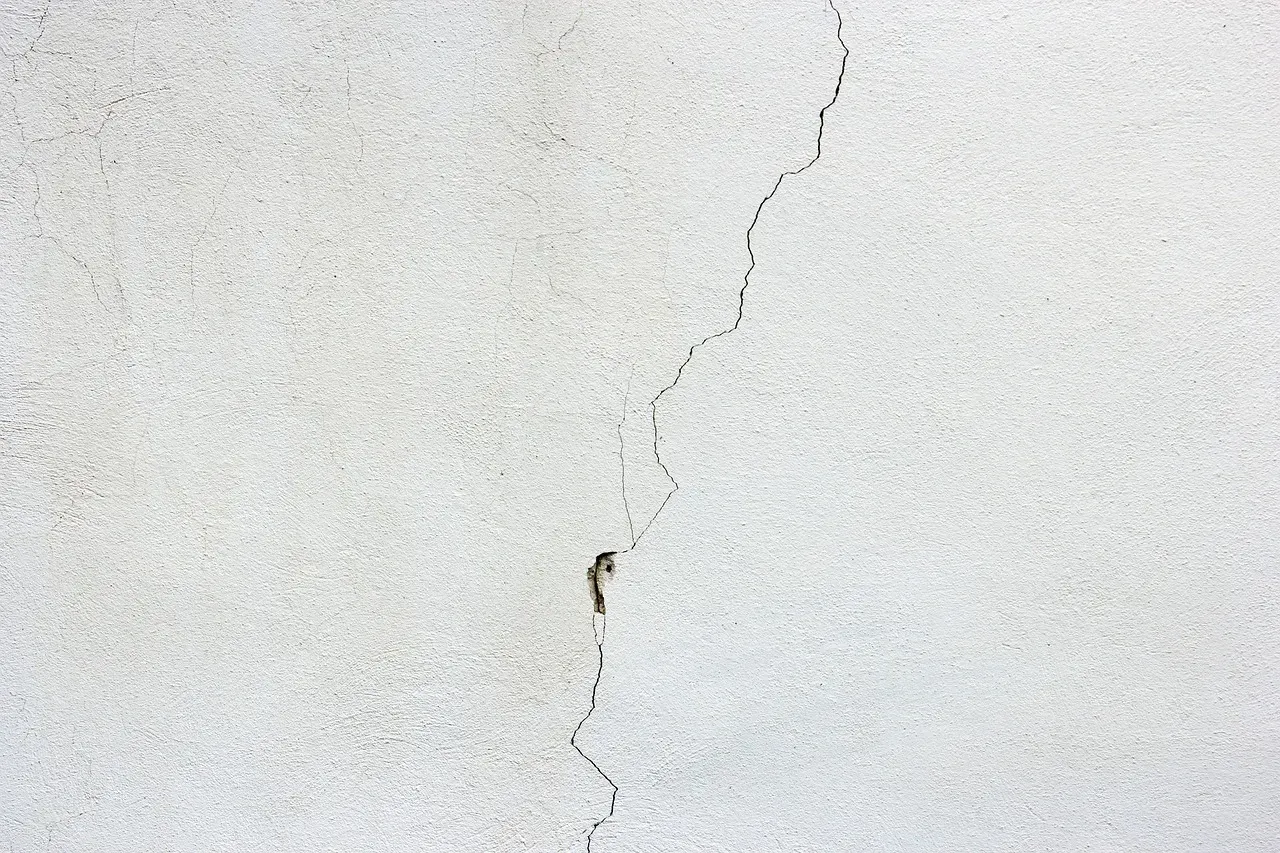
When You Shouldn’t Install Drywall Over Existing Walls
Avoid installing drywall over:
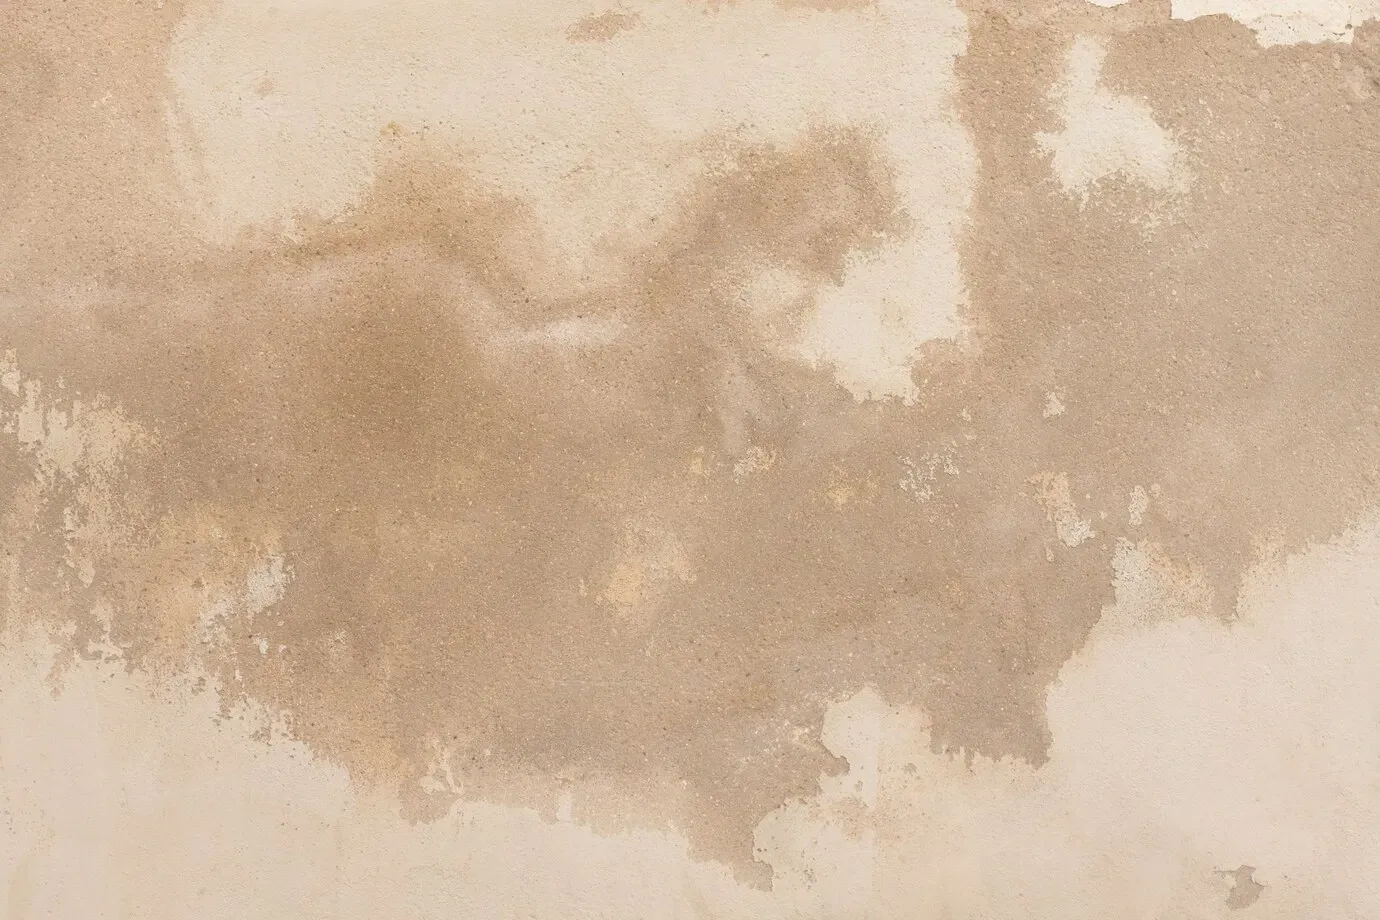
- Walls with moisture damage – If there’s mold or water stains, find and fix the source before covering it.
- Walls with structural issues – Cracks, sagging, or movement could mean a bigger problem that needs repair first.
- Very uneven walls – Large bumps or dips will make it hard to attach the new drywall properly.
How to Check if Your Walls Are Ready
Before installing drywall, run your hands along the walls to feel for bumps or soft spots. Use a level to check for major unevenness. If the walls are solid, dry, and stable, you’re good to go. If not, it’s best to fix those issues before moving forward.
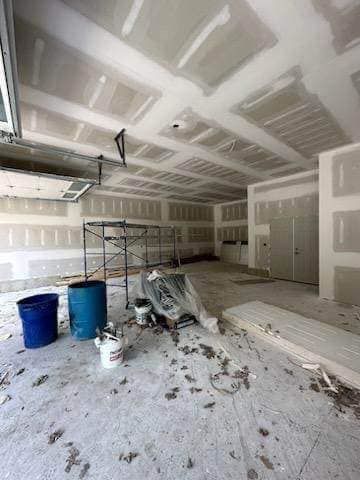
Benefits of Installing Drywall Over Existing Walls
Skipping demolition and installing drywall over old walls has several advantages. It’s faster, cleaner, and often more affordable than tearing everything down. Here’s why many homeowners and contractors choose this method.
1. Saves Time and Labor
Demolition creates a lot of dust and debris, and it takes time to clean up. By installing drywall over existing walls, you avoid the mess and get the job done faster. This is especially useful for large spaces or occupied homes where tearing down walls would be disruptive.
2. Covers Imperfections for a Smooth Finish
Old walls often have dents, cracks, or outdated textures. Adding a new layer of drywall gives a clean, modern look without the extra work of repairing the old surface. It’s a quick way to refresh a room without patching or sanding.
3. Improves Insulation and Soundproofing
An extra layer of drywall adds thickness to the wall, which helps block noise and improve insulation. This can make a big difference in rooms where sound control is important, like bedrooms or home offices.
4. Cost-Effective Solution
Since drywall installation over existing walls skips the demolition step, you save money on labor and disposal costs. You also avoid potential surprises, like discovering hidden damage behind old walls that would require expensive repairs.
If your walls are in good shape, this method is a smart way to save time and money.
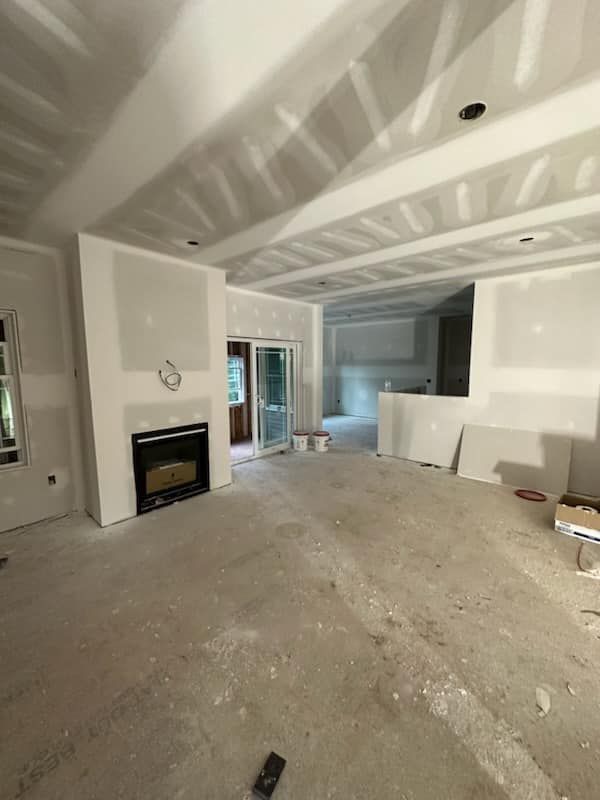
Step-by-Step Guide: How to Install Drywall Over Existing Walls
If your walls are solid and free of major damage, you can start installing new drywall over them. Follow these steps to ensure a smooth, secure installation.
Step 1: Inspect and Prepare the Surface
Check the existing walls for any loose material, moisture issues, or large bumps. Patch any small holes or cracks with joint compound. If the wall has a rough texture, lightly sand it down for a flatter surface.
Step 2: Locate and Mark the Studs
Use a stud finder to locate the existing studs behind the wall. Mark them with a pencil so you know where to place screws when securing the drywall. Attaching the new drywall to studs is important for a strong, long-lasting installation.
Step 3: Remove Trim and Adjust Electrical Boxes
Take off baseboards, window trim, and door casings before installing drywall. If you’re covering a wall with electrical outlets or light switches, install outlet extenders so they remain flush with the new drywall surface.
Step 4: Choose the Right Drywall and Fasteners
For most walls, ½-inch drywall is the best choice. If you want to keep the added thickness to a minimum, you can use ⅜-inch drywall. Use longer drywall screws (1 ¼ to 1 ⅝ inches) to secure the new drywall through the existing layer and into the studs.
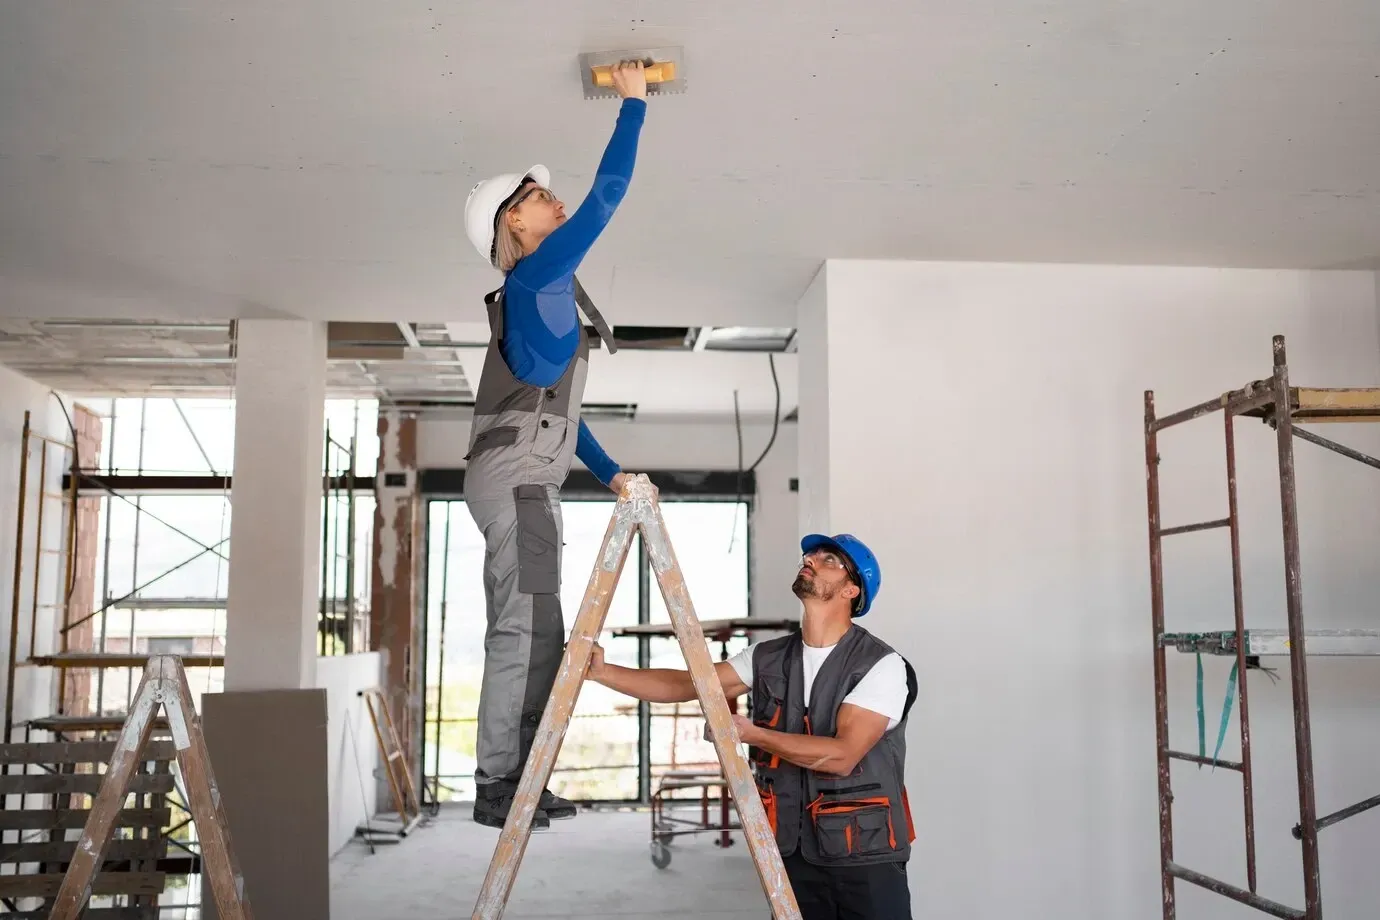
Step 5: Install Drywall Sheets Securely
Start at one corner and attach the drywall sheets using your marked stud locations as a guide. Place screws about 12 to 16 inches apart along each stud. Stagger the seams of the new drywall to avoid weak spots in the wall.
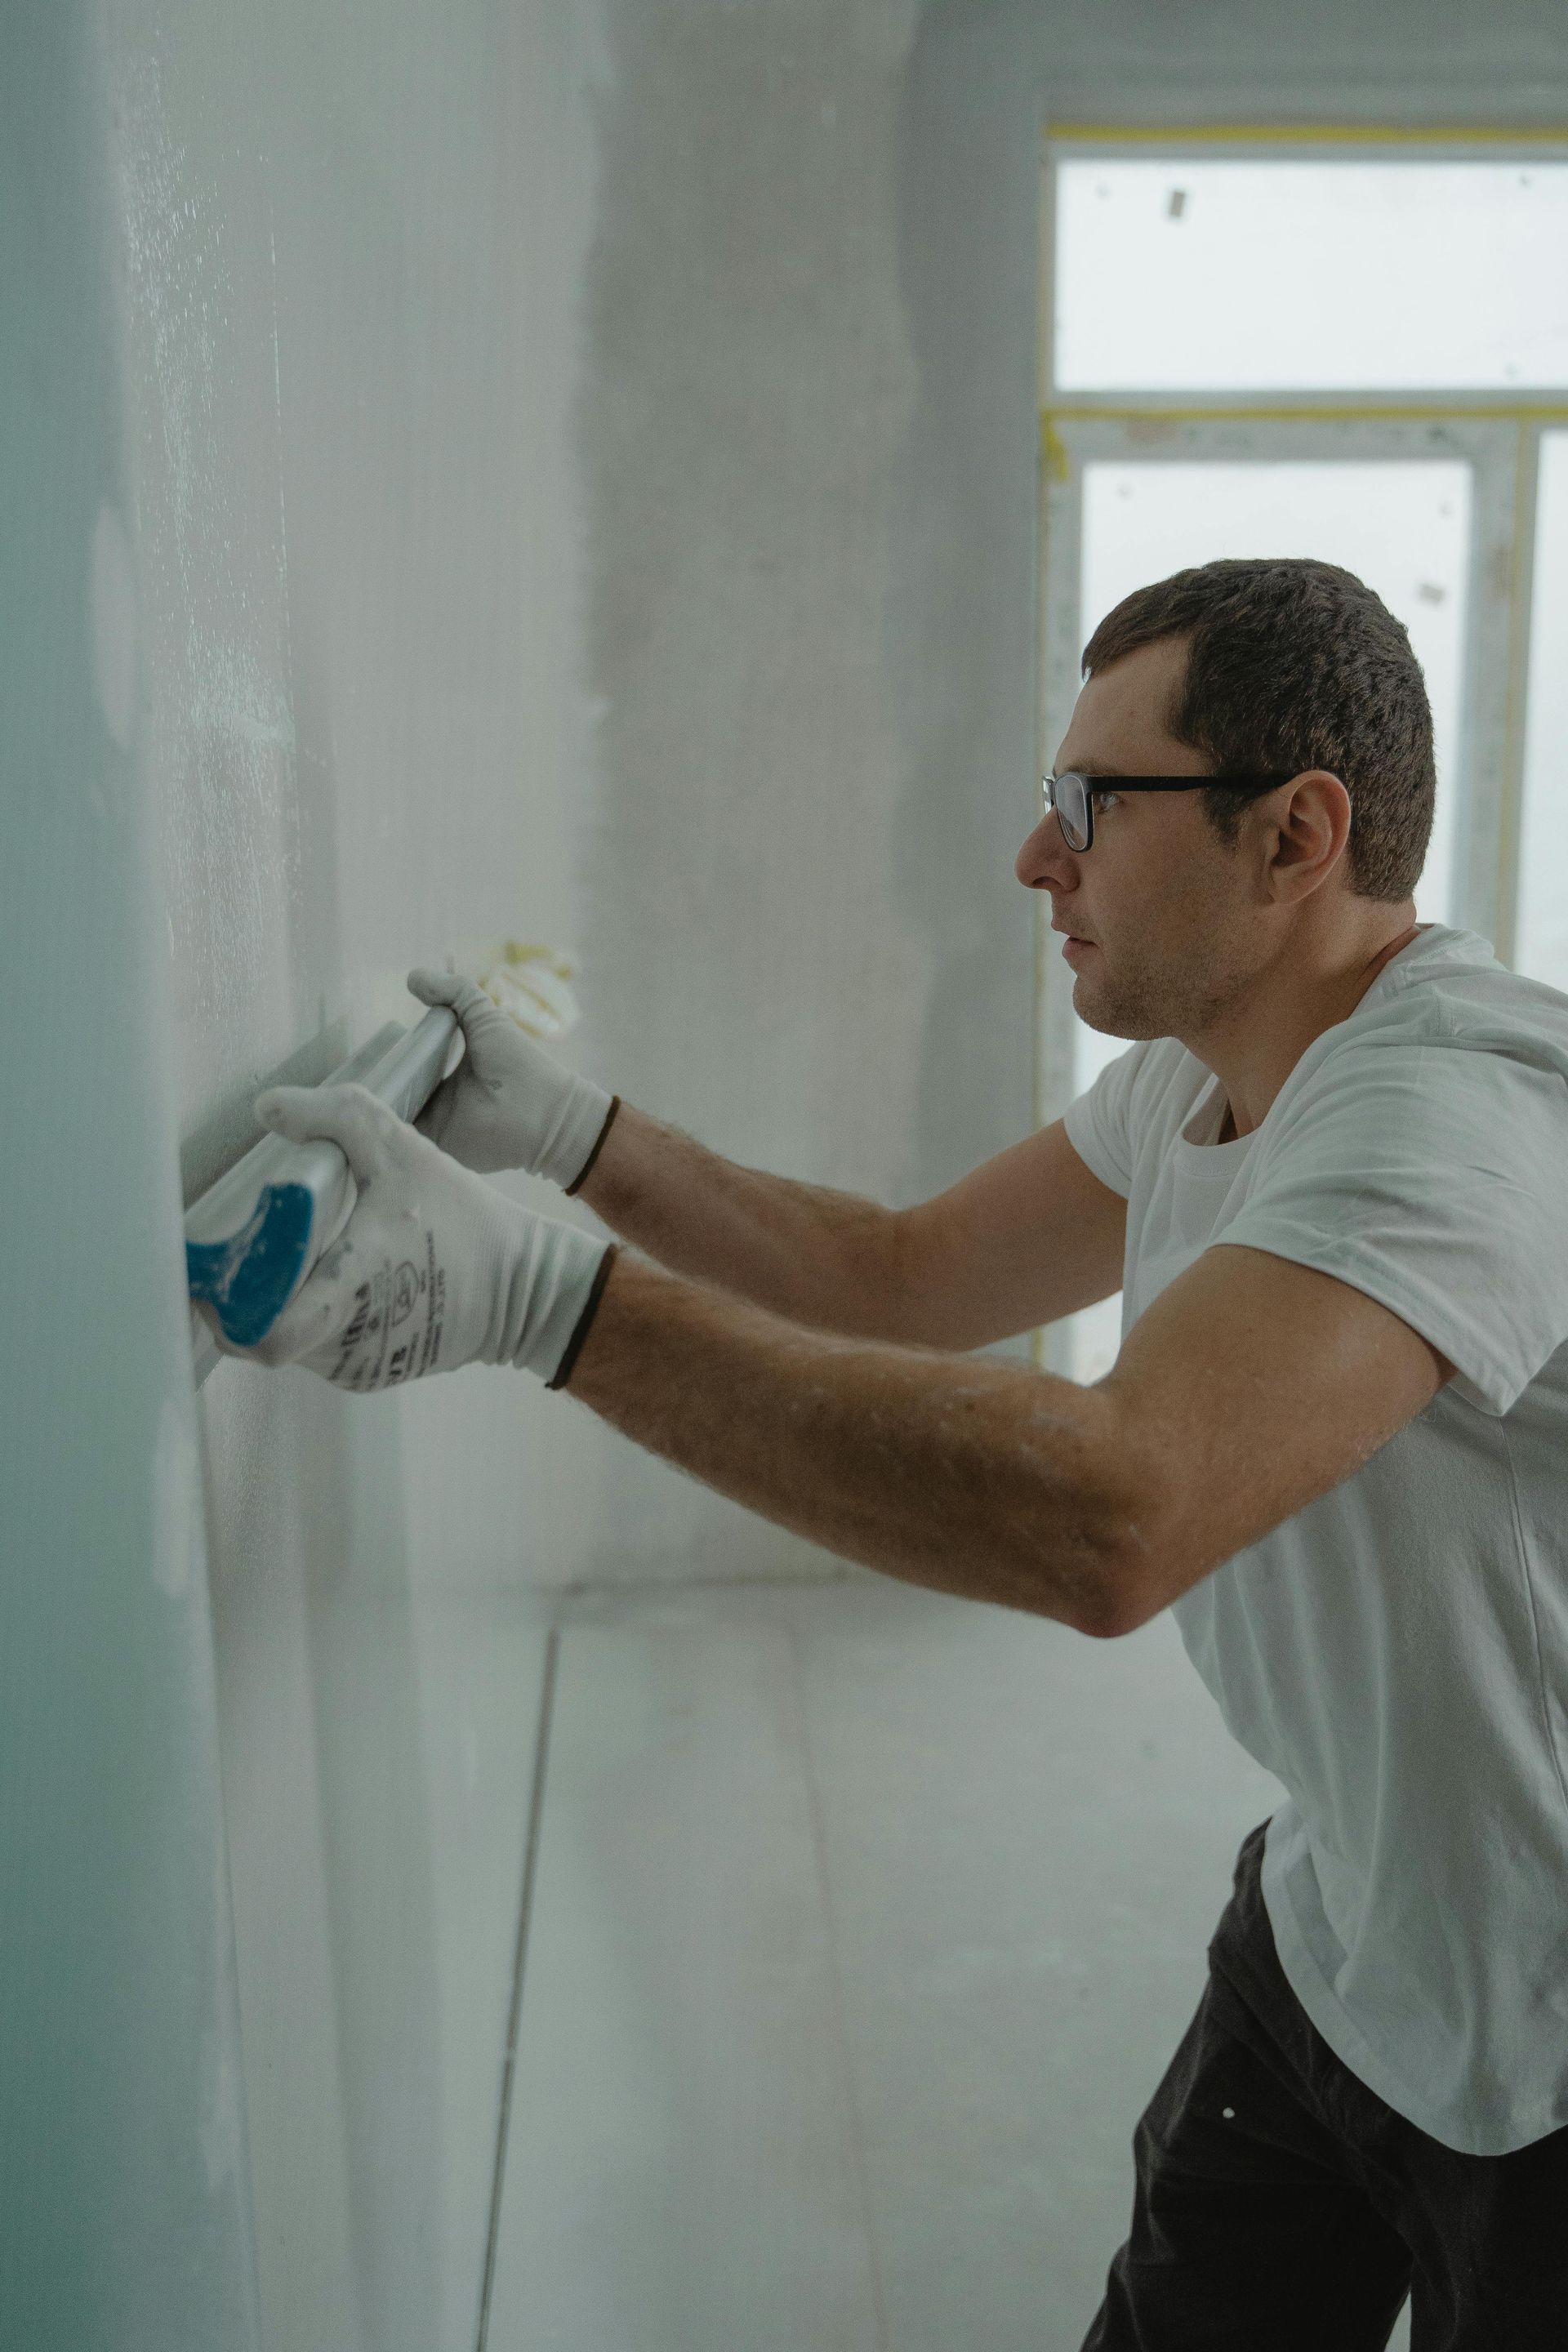
Step 6: Tape, Mud, and Sand for a Seamless Finish
Cover all seams with drywall tape, then apply joint compound over the tape and screw heads. Once dry, sand the surface smooth before painting or adding texture. This final step ensures a professional look with no visible seams.
Following these steps will give you a clean, secure drywall installation that looks like new construction.
Common Mistakes to Avoid
Installing drywall over existing walls can be a simple process if done correctly. However, making mistakes along the way can lead to weak, uneven, or unsafe walls. Here are some common issues to watch out for and how to avoid them.
1. Skipping Wall Preparation
Failing to inspect and prep the existing walls can cause problems later. Dirt, loose paint, or uneven surfaces can prevent the drywall from sitting flush, leading to a poor finish. Always clean the walls and patch any problem areas before starting.
2. Using Screws That Are Too Short
Regular drywall screws may not be long enough to hold the new drywall securely. Use screws that are at least 1 ¼ to 1 ⅝ inches long to ensure they penetrate both layers and anchor into the studs.
3. Ignoring Electrical and Plumbing Adjustments
If you install new drywall without adjusting outlet and switch boxes, they will sit too deep inside the wall. This makes them unsafe and difficult to use. Install outlet extenders to bring them level with the new drywall.
4. Covering Moisture or Mold Issues
Never install drywall over damp or moldy walls. Trapping moisture behind the new drywall will only make the problem worse, leading to long-term damage. If you see water stains or signs of mold, fix the source of the problem before moving forward.
5. Not Staggering Seams
Drywall seams that line up in a straight vertical or horizontal line create weak points in the wall. Stagger the seams so they don’t fall on the same stud line, making the wall stronger and less likely to crack over time.
Avoiding these mistakes will help ensure a smooth, professional-looking drywall installation. But should you take on this project yourself, or is it better to hire a professional?
DIY vs. Hiring a Professional: Which Saves More?
Installing drywall over existing walls might seem like a simple project, but it requires precision and attention to detail. Before deciding whether to DIY or hire a professional, consider the time, cost, and skill level involved.
When DIY Makes Sense
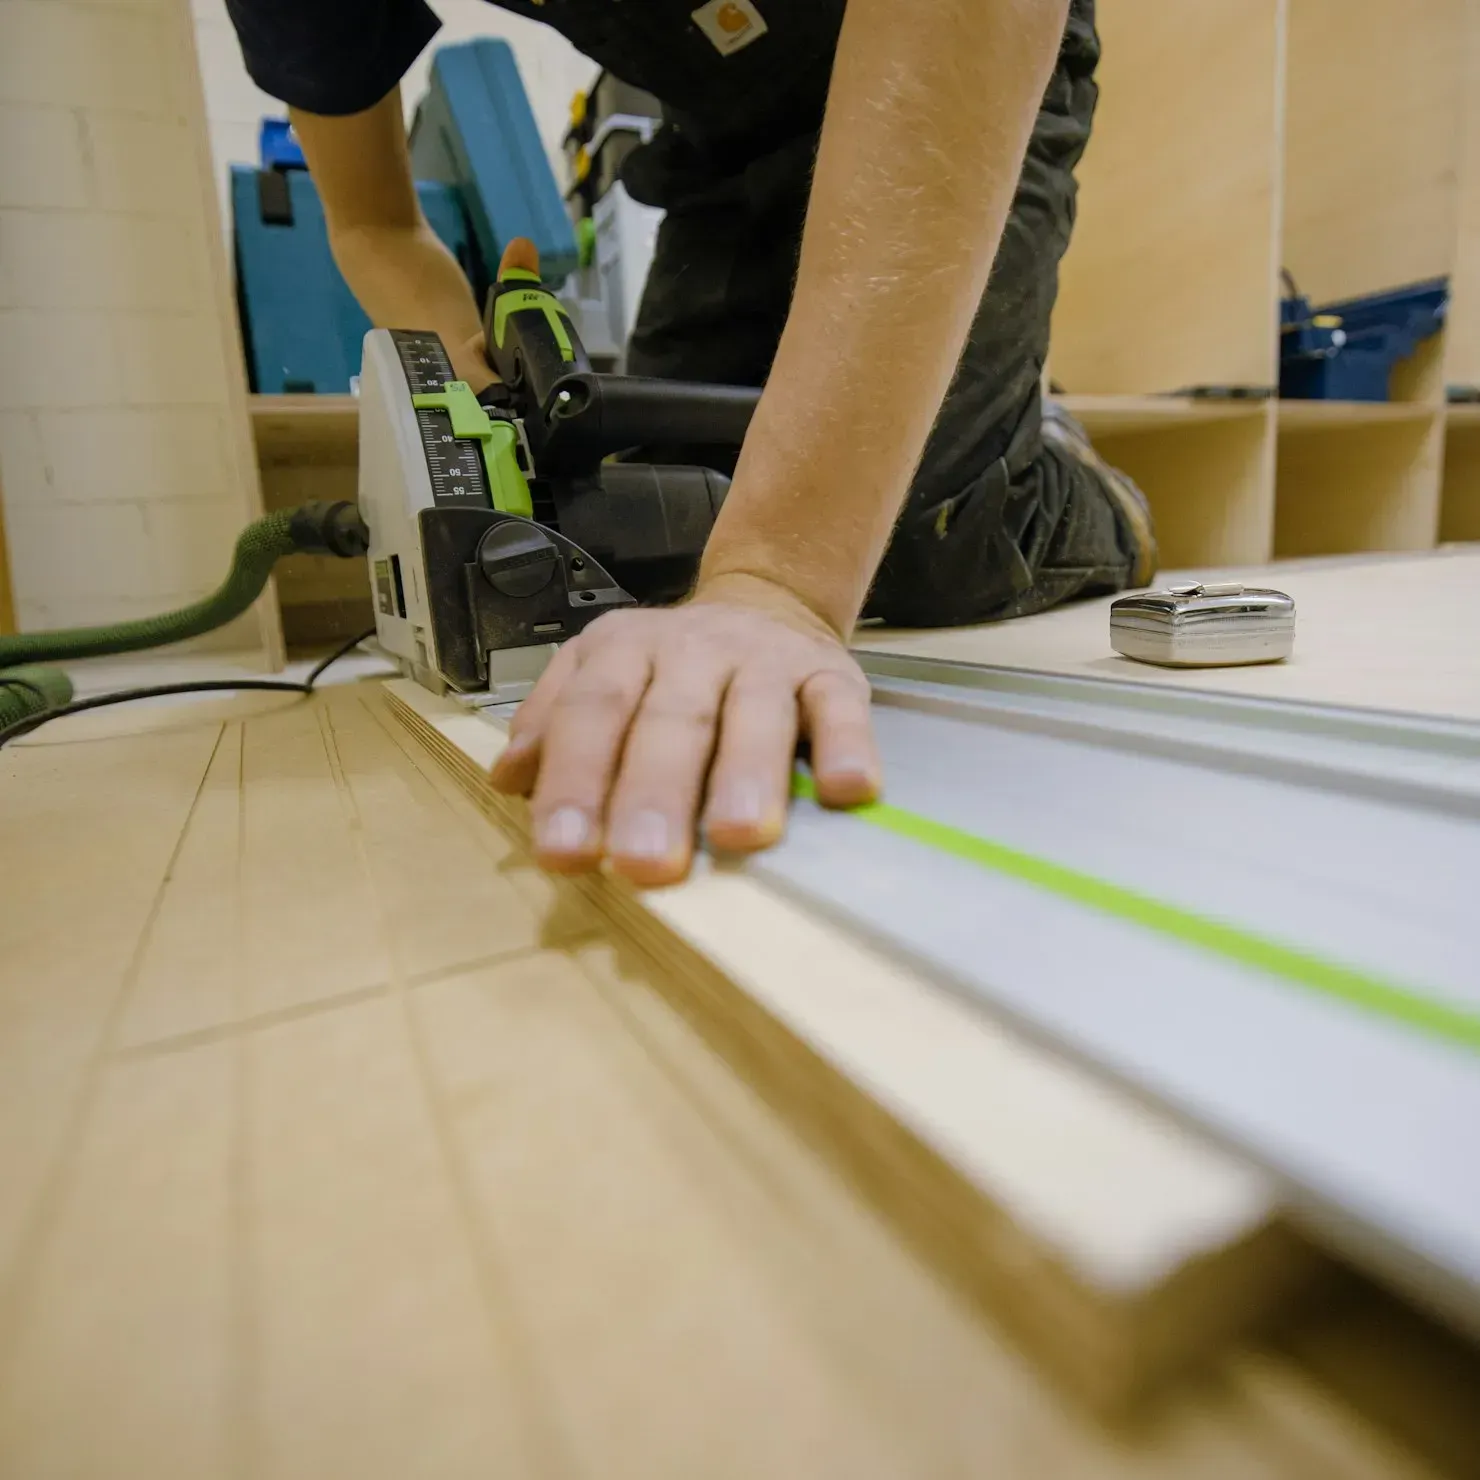
If you have basic construction skills and a small project, doing it yourself can save money. Here’s when DIY might be the right choice:
- You’re covering a small area – A single room or a small wall is manageable.
- You have the right tools – A drywall lift, drill, taping tools, and a stud finder are essential.
- You’re comfortable with taping and mudding – Getting a smooth, seamless finish takes practice.
For a
12x12 room, expect to spend
$200–$500 on materials, depending on drywall type and fasteners.
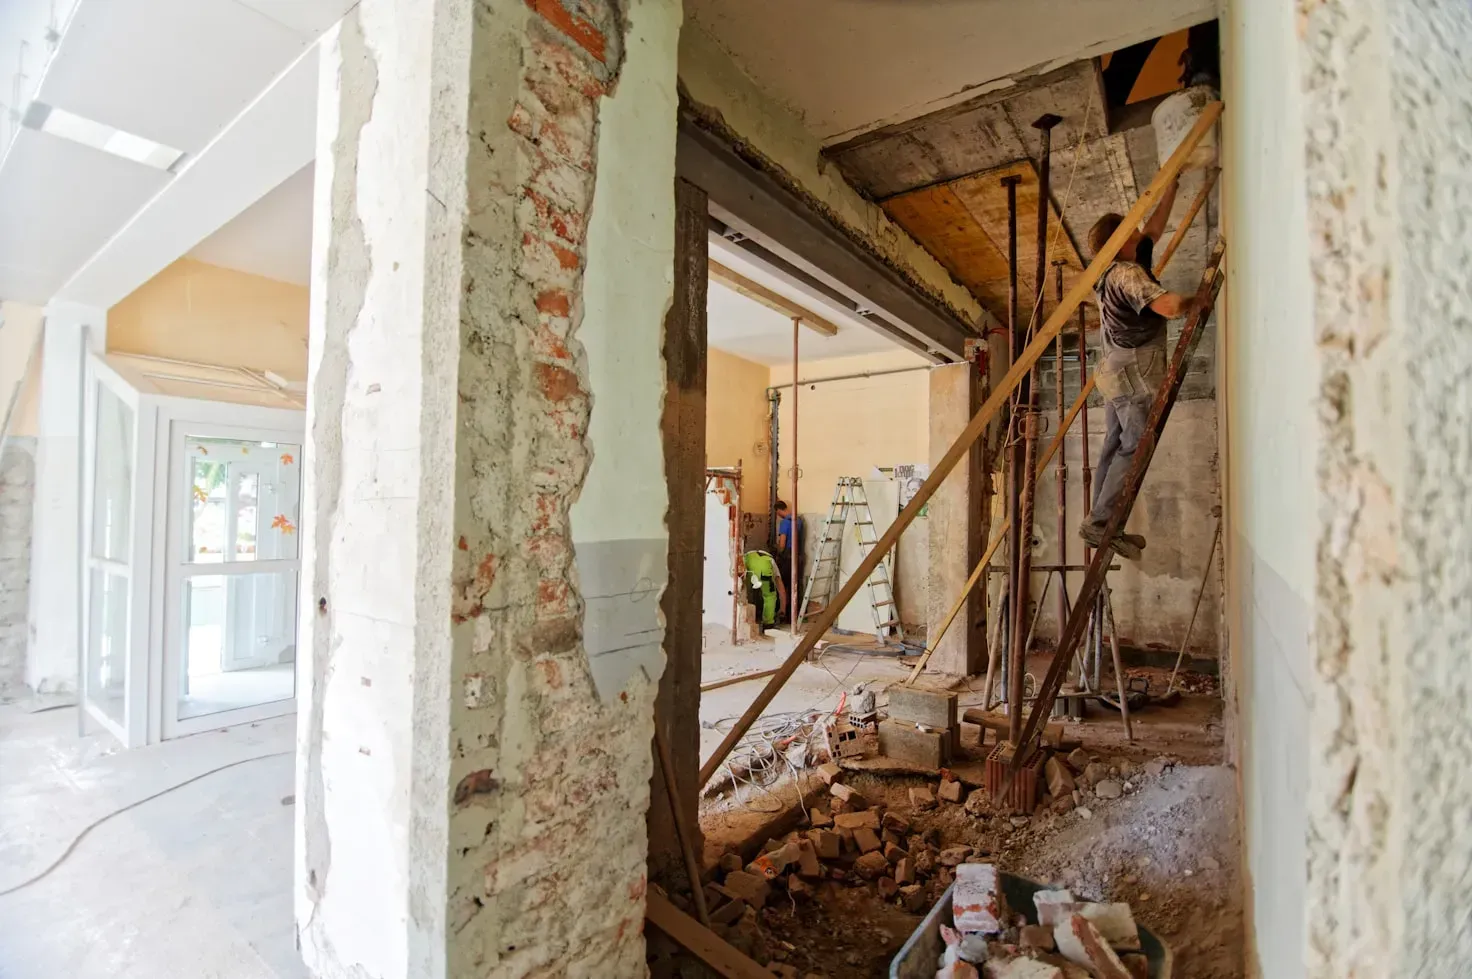
When to Hire a Professional
For larger jobs or walls that require a flawless finish, hiring a drywall contractor can be a better investment. Consider calling a pro if:
- You need a perfectly smooth finish – Poor mudding or sanding can ruin the look of the wall.
- Your walls are uneven or damaged – A contractor will know how to correct imperfections.
- You’re covering multiple rooms – A pro can complete the job faster and with better results.
Professional drywall installation typically costs $1.50–$3.50 per square foot, including labor and materials. While this is more expensive than DIY, it guarantees a high-quality finish and saves time.
If you’re unsure whether to tackle the job yourself, getting a free estimate from a contractor can help you weigh your options.
Conclusion
Installing drywall over existing walls is a practical, cost-effective solution when done correctly. It saves time, reduces labor, and provides a smooth, updated look without the mess of tearing down old walls. However, proper preparation is key—checking for moisture issues, using the right fasteners, and adjusting electrical boxes are all essential for a solid installation.
If you’re handling a small project and have experience with drywall, DIY can be a budget-friendly option. But for larger jobs, high-visibility areas, or when you need a flawless finish, hiring a professional ensures better results, faster completion, and long-term durability.
For expert drywall installation in Easthampton, Springfield, Chicopee, and surrounding areas, Frenchie Drywall is the trusted choice. We specialize in residential and commercial drywall installation, interior painting, and drywall repairs. Whether you need to upgrade a single room or complete a full renovation, our skilled team delivers top-quality craftsmanship.
Contact Frenchie Drywall today for a free estimate and let us handle your drywall project with precision and expertise.