Sanding, Joint Compound, Priming Finishing Techniques
April 2, 2024
Finishing Techniques for a Smooth and Professional Look: Sanding, Joint Compound, and Priming
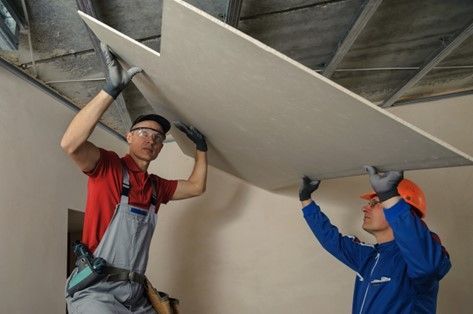
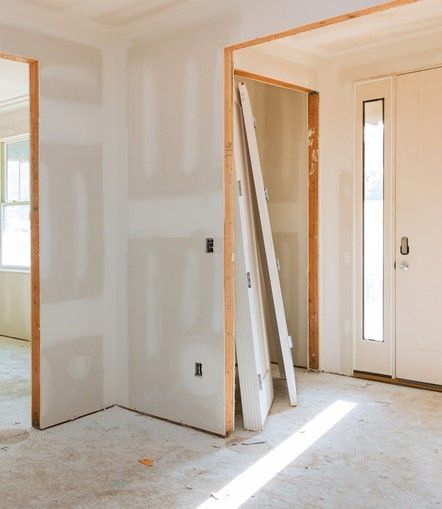
Want to get a smooth, clean look on your drywall project? This guide will walk you through the best drywall finishing techniques to help you finish drywall like a pro. Whether you're patching holes or working with new drywall panels, learning how to tape, apply joint compound, and sand properly is key to getting that smooth finish.
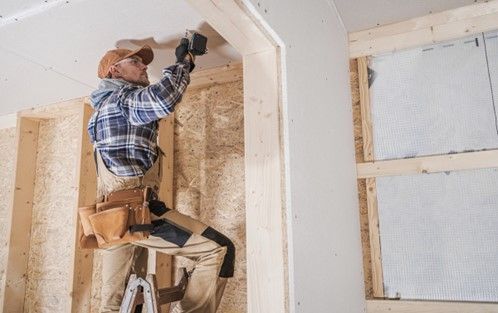
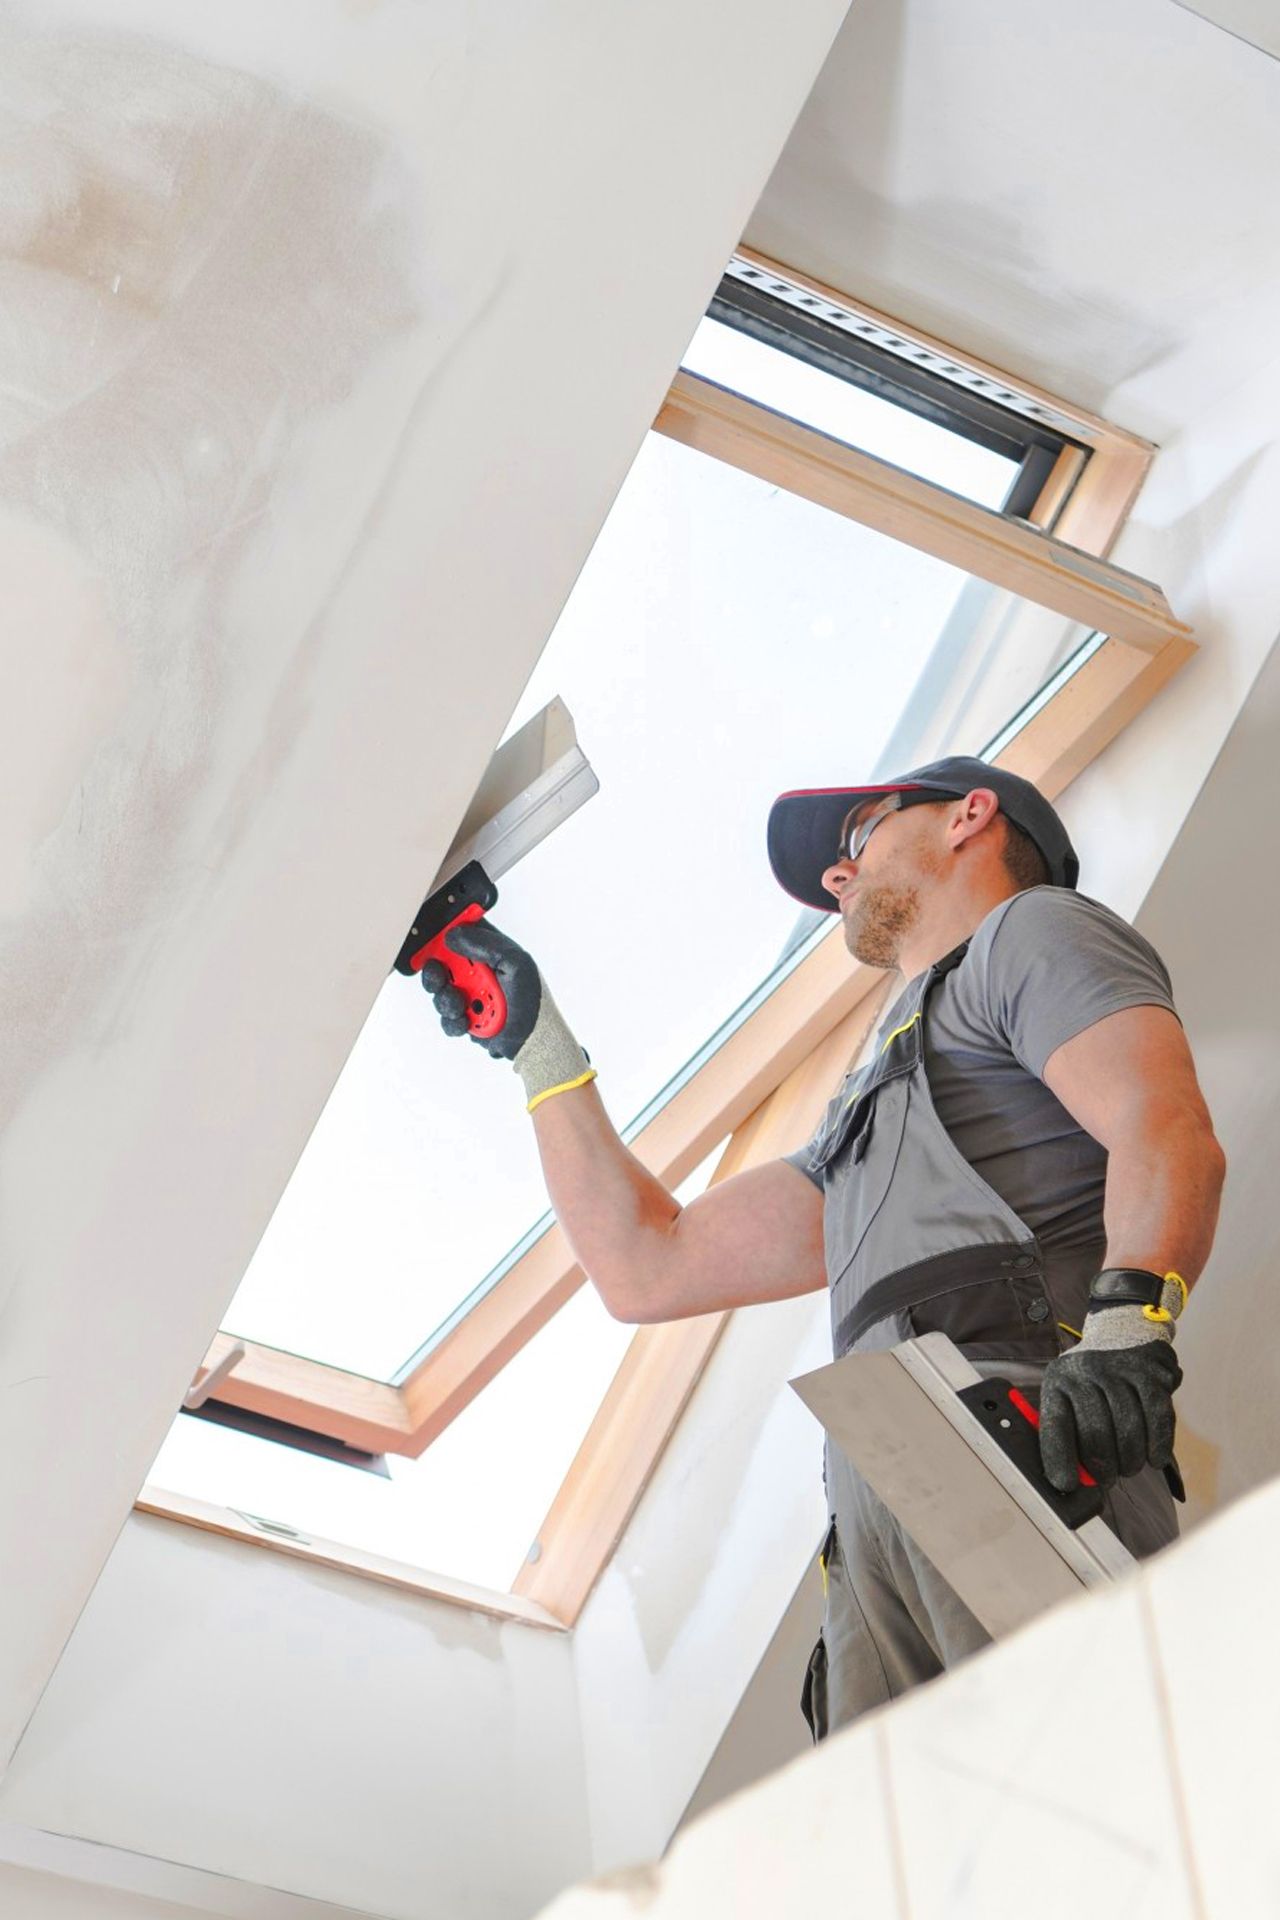
We’ll cover how to hang drywall, apply the first coat, use a taping knife, and lay paper tape over every seam and corner. You’ll also learn how to feather the edges, apply a thin layer of drywall compound, and smooth it out with a drywall knife. After that, it’s time for the second coat, finish coat, and one final sand to remove any bumps, screw holes, or excess mud.
Once your drywall surface is clean and dry, you’ll prime it with a drywall primer so it’s ready for paint or wallpaper. We’ll also share tips for using a sanding block, pole sander, and wearing a dust mask for safety. Whether you're working on inside corners, outside corners, or applying a skim coat over the entire surface, this guide has everything you need to get a seamless and smooth wall.
Sanding Techniques
Sanding is essential for a smooth finish. It's not just about smoothing; it’s crucial for making sure paint or finishes stick well and look their best.
1. Picking Sandpaper: Start with a rougher grit to tackle any unevenness and gradually move to a finer grit for a smooth surface. Begin with 80 grit for rough areas, finishing up with 200 or higher for a silky finish.
2. Tools for Sanding: For small tasks, hand sanding works well. For bigger jobs, an orbital sander is faster and more efficient.
3. How to Sand: Sand along the grain to avoid marks. Apply steady pressure and take your time for the best results.
4. Clean Up: Dust off the surface with a tack cloth or vacuum to prevent dust from spoiling your finish.
Safety: Always wear a mask and ensure good ventilation to protect yourself from dust.
Following these guidelines will prepare your project perfectly for the next steps, ensuring a quality finish.
Applying Joint Compound
Using joint compound is key for seamless walls and surfaces. It fills gaps, smoothens out imperfections, and creates a uniform surface for painting.
1. Preparing Your Surface: Make sure the area is clean and dry. Remove any loose material or debris to ensure the compound sticks well.
2. Tools Needed: You’ll need a putty knife or trowel for application. Keep a sanding block handy for smoothing out dried compound.
3. Application Process: Apply the compound in thin layers, pressing it into any gaps or holes. Smooth it out as much as possible but don’t worry about getting it perfect on the first go.
4. Drying and Sanding: Let each layer dry completely, then lightly sand for a smooth finish. Repeat the process if necessary to fill deeper gaps or achieve a smoother surface.
5. Final Prep: Dust off any residue after sanding before moving on to priming or painting.
This process not only prepares your walls for a flawless paint job but also strengthens them by filling in weaknesses.
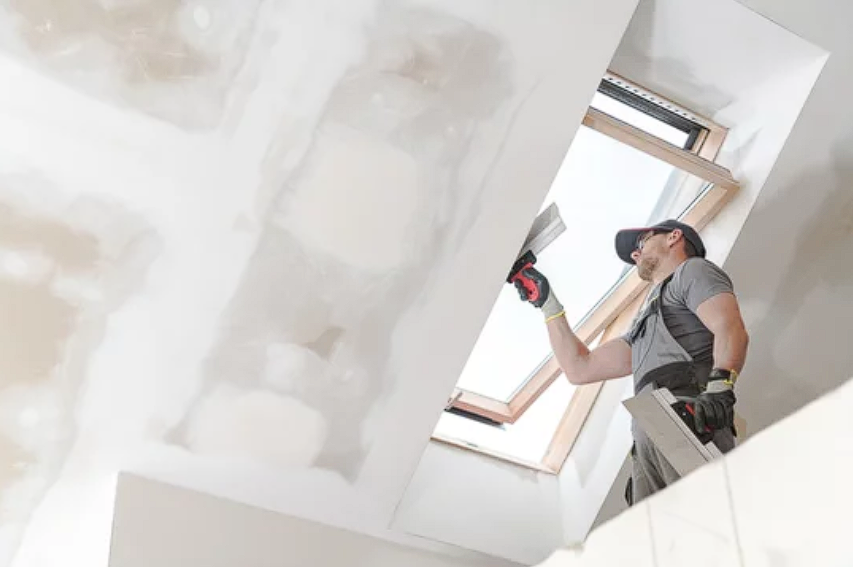
Priming Basics
Priming is crucial for a lasting, professional finish. It ensures your paint adheres properly and provides a uniform base, enhancing the final appearance.
1. Choosing the Right Primer: Match your primer to your project. Use a water-based primer for most indoor projects and an oil-based primer for surfaces prone to moisture or heavy wear.
2. Application Tools: A roller is ideal for large, flat areas, while a brush is better for edges and detail work. For an even coat, consider a paint sprayer for large projects.
3. Applying Primer: Start with a clean, dry surface. Apply primer in even layers, covering the entire area without overloading your brush or roller. Allow it to dry as recommended by the manufacturer.
4. Coverage Check: Once dry, check for coverage. Areas that absorb the primer or show through may need a second coat.
5. Prep for Paint: After the primer dries, lightly sand the surface for a smooth base ready for painting.
Priming correctly not only enhances paint adhesion but also improves durability and finish quality, making it a step you shouldn't skip.
Finishing Touches
The final steps in your project are just as crucial as the first. Here’s how to ensure your finish is as professional and durable as it can be.
1. Top-Coats and Sealants: Depending on your project, a top-coat or sealant might be necessary. These not only add durability but also enhance the final look. Choose a product that complements your paint and project needs.
2. Applying the Finish: Use a clean brush or roller for application. For varnishes and sealants, follow the manufacturer's directions closely to ensure even coverage and optimal drying times.
3. Inspection: Once everything is dry, inspect your work. Look for any missed spots or potential improvements. A light sanding might be required before applying a final coat for perfection.
4. Maintenance: Provide care instructions if you’re working for someone else, or note them for yourself. Proper maintenance can greatly extend the life of your finish.
With these final touches, your project not only looks great but is set up to last, reflecting the care and effort you’ve put into it.
Common Mistakes to Avoid
Even with the best intentions, a few missteps can impact the quality of your finish. Here are some common mistakes to watch out for:
1. Skipping Sanding: Sanding is essential for a smooth base. Not doing it can result in a finish that looks rough and uneven.
2. Not Cleaning Surfaces: Before applying joint compound or primer, ensure the surface is clean. Dust and debris can prevent proper adhesion, leading to peeling or chipping later.
3. Rushing Between Steps: Each phase, from sanding to priming, needs proper drying time. Rushing can ruin your hard work, causing bubbles or uneven textures.
4. Overlooking Primer: Skipping primer or using the wrong type can affect paint adhesion and longevity. Always select the right primer for your surface and project type.
5. Forgetting to Check Weather: If you’re working on an exterior project, weather conditions can affect drying times and finish quality. Always plan around the weather.
Avoiding these mistakes will help ensure your project turns out as planned, looking professional and lasting longer.
Frequently Asked Questions
Q1: How do environmental conditions affect finishing techniques?
Temperature and humidity play a big role in how paint, joint compound, and finishes dry and adhere. High humidity can slow drying times, while too low can cause them to dry too quickly, leading to cracks. Always check the product recommendations and plan your project around optimal conditions.
Q2: Can these techniques be applied to both indoor and outdoor projects?
Yes, but with adjustments. Outdoor projects require materials designed for exterior use, which can withstand weather elements. The fundamental techniques, such as sanding and priming, remain the same but always use products suited for your project's environment.
Q3: Tips for maintaining tools used in these finishing techniques?
Clean your tools immediately after use. For brushes and rollers, remove excess paint, then wash with soap and water (for water-based paints) or the appropriate cleaner (for oil-based paints). Dry tools thoroughly before storage to prevent rust and deterioration.
Conclusion
Mastering the art of sanding, applying joint compound, and priming are fundamental to achieving a smooth, professional finish on any project. By following the step-by-step guidance we’ve outlined, you’re well on your way to enhancing the durability and appearance of your work, whether it’s a simple DIY task or a more complex professional endeavor. Remember, the key to a flawless finish lies in patience, attention to detail, and not skipping the vital preparatory steps.
Call to Action
Looking for top-notch drywall and painting services? Look no further than Frenchie Drywall LLC.
Whether you need expert drywall installation for your home or business, or a fresh coat of paint to rejuvenate your interior spaces, our team has you covered. With a focus on quality, efficiency, and impeccable finish, we ensure your project, big or small, meets the highest standards. Trust Frenchie Drywall LLC for all your residential and commercial drywall and interior painting needs.
Contact us today to transform your space!