Basic Drywall Installation
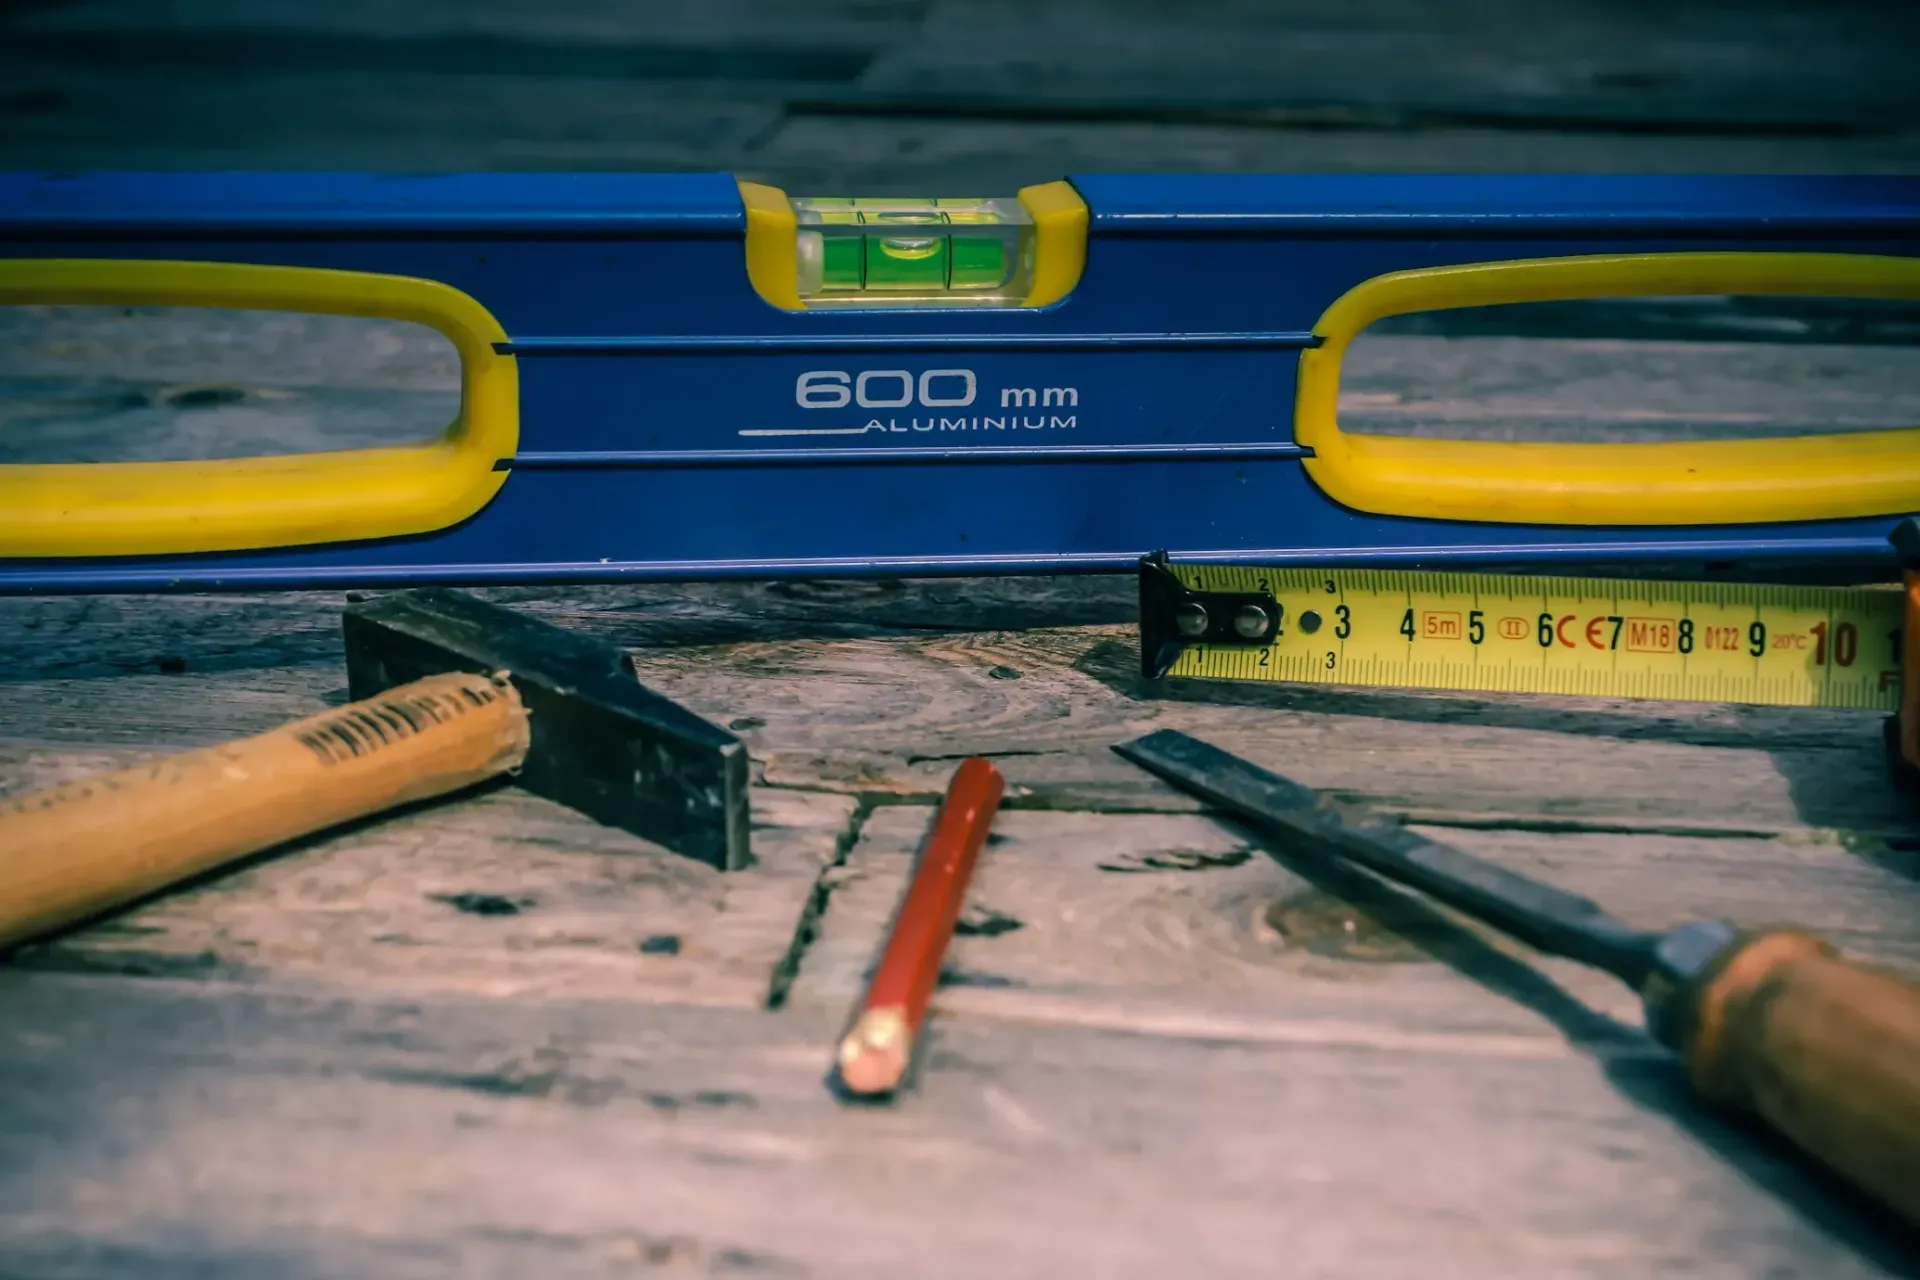
Ready to tackle drywall installation? This guide simplifies the process, covering everything from space prep to the final sanding. Perfect for first-timers or those polishing their skills, let’s transform your walls with ease.
Preparing Your Space
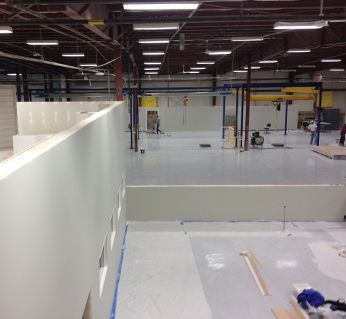
Before diving into the actual installation of drywall, setting up your space is crucial. This initial step ensures a smoother process and a cleaner finish. Here's what you need to focus on:
- Clear the Area: Make sure the room is free of furniture and any other obstacles. This not only gives you space to work but also prevents any damage.
- Clean Surfaces: Dust and debris can hinder the installation process. A clean surface ensures better adhesion for drywall tape and joint compound.
- Check for Moisture: Walls need to be dry. Moisture can cause mold growth behind your drywall, leading to bigger problems down the line.
- Inspect and Prepare the Framing: Ensure the framing is straight and secure. Any warped studs need to be fixed or replaced. This step is crucial for avoiding uneven walls.
- Measurements and Markings: Accurate measurements and clear markings where the drywall will go help in precise cutting and fitting.
- Safety Measures: Don’t forget to wear protective gear, including safety glasses and a dust mask. Drywall work can get messy, and it's important to protect yourself.
- Gather Your Tools and Materials: Having all your tools and materials ready and within reach makes the process more efficient. This includes drywall panels, screws, a drill, a utility knife, measuring tape, and a pencil for markings.
By following these preparatory steps, you ensure a solid foundation for your drywall installation, making the subsequent steps of measuring, cutting, and installing much more straightforward.
Measuring and Cutting Drywall
- Take Exact Measurements: Measure the height and width of each wall or ceiling area you're covering. For precision, measure each space where a drywall panel will go, as rooms aren’t always perfectly square.
- Mark Your Drywall Sheets: Transfer your measurements onto the drywall sheets, using a straightedge or T-square for straight lines. Accuracy here is key to ensure your panels fit snugly.
- Score and Snap: Use a utility knife to score along your marked lines on the drywall. Then, snap the panel along this line. For a clean break, score deeply enough to cut through the paper layer.
- Cut Outs for Electrical Boxes and Fixtures: For outlets, switches, or any fixtures, measure their location from two reference points, such as the floor and a corner. Mark these on your drywall panel before installing it. Cut out the marked areas using a drywall saw or rotary tool.
- Test Fit Before Securing: Before attaching the drywall with screws, hold it up to the intended space to ensure a proper fit. Minor adjustments with a utility knife are common.
- Keep Panels Slightly Off the Floor: To prevent moisture damage, keep the bottom of the drywall panels about half an inch off the floor. This gap will be covered by baseboards later.
- Use Cut Edges in Less Visible Areas: If possible, arrange so that any cut edges of drywall are in closets or corners where they will be less noticeable or covered by trim.
Following these steps helps avoid common pitfalls in drywall installation, such as misaligned panels or gaps. With precise measuring and cutting, your drywall will be ready for a professional-level installation.
Hanging Drywall
- Start with the Ceiling: Always begin by installing drywall on the ceiling first. This allows the wall panels to help support the edges of the ceiling panels, reducing the risk of sagging or separation.
- Use a Drywall Lift for Ceilings: If available, a drywall lift can make installing ceiling panels much easier and safer, especially for DIYers. If you don't have a lift, enlist the help of a friend or two to hold the panels in place.
- Secure with Drywall Screws: Attach the drywall panels to the framing using drywall screws, spaced about 16 to 24 inches apart. Start from the center of the panel and work your way out to the edges to prevent bowing. Ensure the screws are driven slightly below the surface of the drywall but don’t tear the paper.
- Stagger Seams on Adjacent Rows: When installing multiple rows of drywall, offset the seams between panels to increase the strength of the installation and make taping and mudding easier. This is similar to laying bricks in a staggered pattern.
- Tight Fits are Key: For walls, each drywall panel should fit snugly against its neighbors and any adjoining surfaces. Small gaps can be filled with joint compound, but avoiding large gaps will make your job easier.
- Mark and Cut Outlets and Switches: Before attaching wall panels, mark the location of outlets, switches, and any other fixtures on the drywall. Cut these out with a drywall saw or rotary tool before securing the panel to the wall.
- Avoid Over-Tightening Screws: When securing drywall, avoid driving screws too deeply into the panel. Breaking the paper surface reduces the holding strength of the screw.
Following these steps ensures that your drywall panels are securely and properly installed, providing a solid foundation for the next stages of taping, mudding, and finishing.
Taping and Mudding the Seams
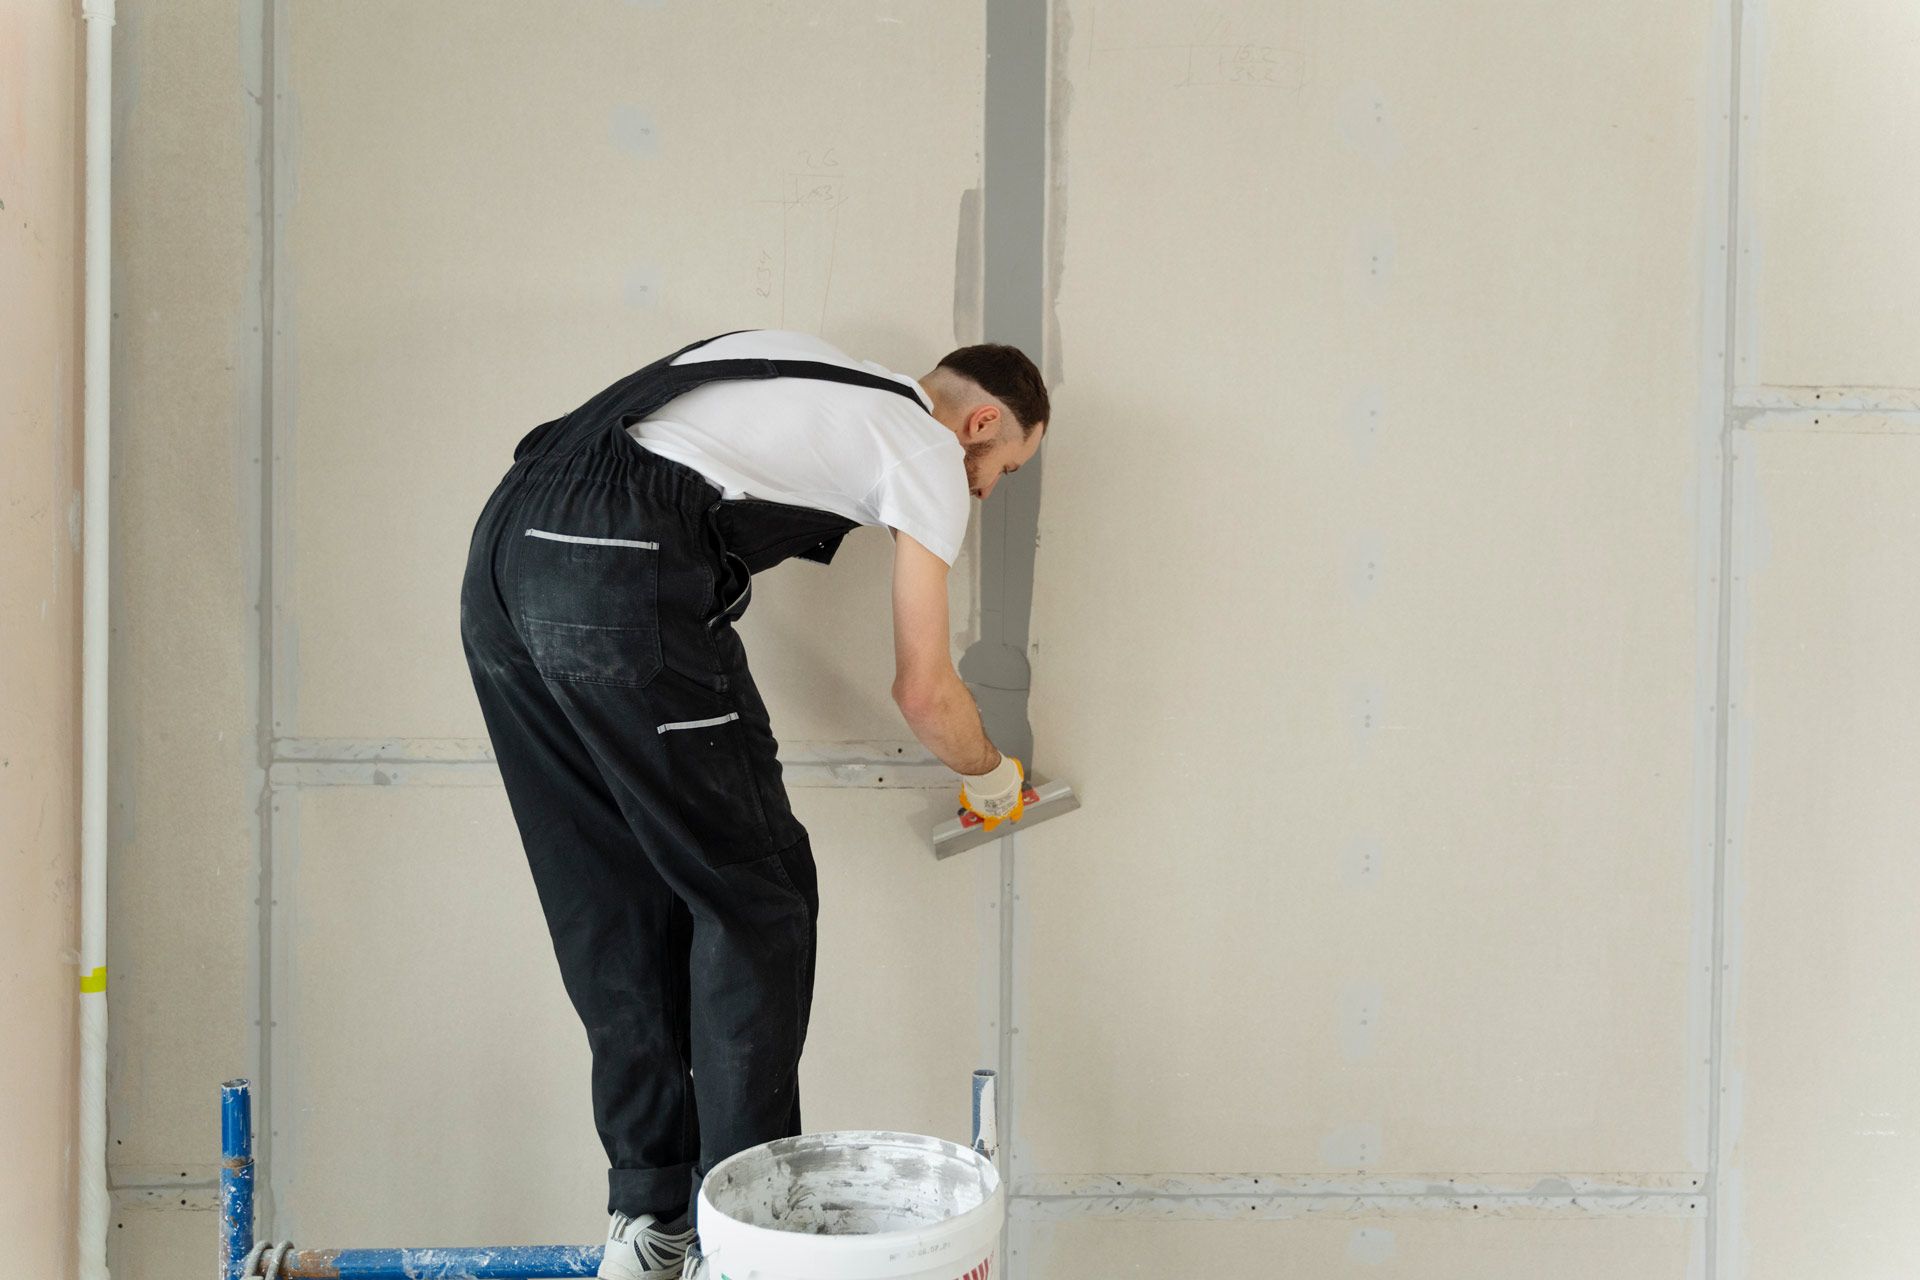
- Apply Joint Compound: Start with a thin layer of joint compound (also known as mud) over each seam. The compound acts as an adhesive for the tape.
- Tape the Seams: Place drywall tape over the wet mud along the seams. For corners, use special corner tape for best results. Press the tape into the compound with a drywall knife to ensure it adheres well and there are no air bubbles.
- Smooth It Out: Apply another layer of mud over the tape, using a wider drywall knife this time. Smooth it out as much as possible. The goal is to make the tape completely invisible, blending the seams into the rest of the wall.
- Cover Screw Heads: Don’t forget to cover every screw head with joint compound. This hides the screws and prevents them from showing through your final paint or wallpaper.
- Let It Dry: Allow the mud to dry completely. This can take anywhere from 24 hours to a few days, depending on humidity and the type of compound used.
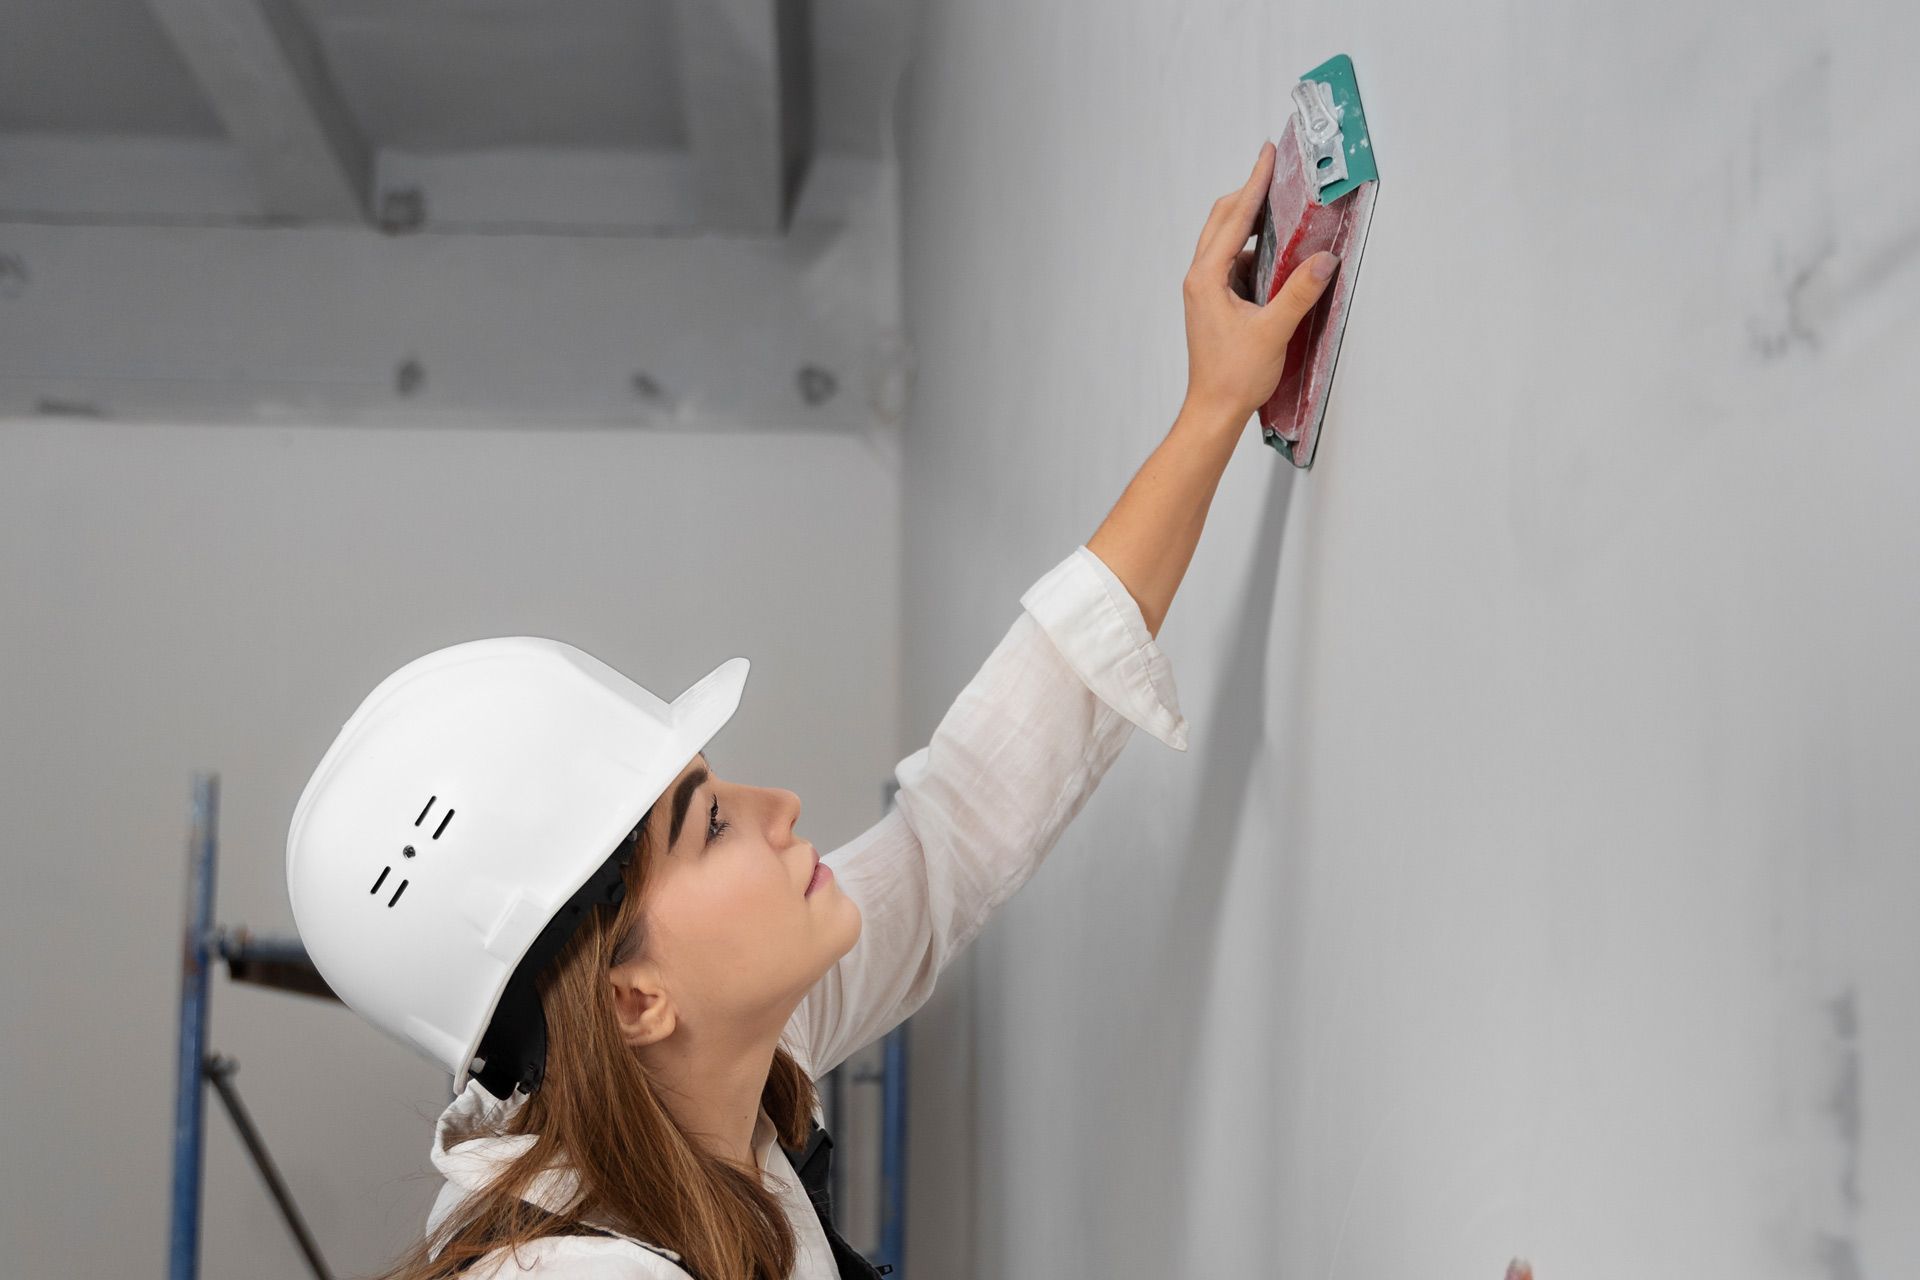
- Sand Smooth: Once dry, sand the mudded areas until they’re smooth to the touch. Use a fine-grit sandpaper and be gentle to avoid tearing the tape. A sanding block can help maintain an even pressure.
- Apply Additional Coats: For the smoothest finish, apply a second (and sometimes third) thin coat of mud, allowing it to dry and sanding it smooth each time. This step is key for hiding any imperfections.
- Clean Up: Dust from sanding can be extensive. Vacuum up the dust and wipe down the walls with a damp cloth to ensure a clean surface for painting or wallpapering.
Sanding and Finishing the Drywall
- Choose the Right Tools: For sanding, use fine-grit sandpaper or a sanding sponge. Consider using a sanding pole for higher areas on walls and ceilings, which can save you some effort and help maintain an even pressure across the surface.
- Sanding Technique: Start sanding over dried mud with gentle, circular motions. Focus on areas where you've applied joint compound, especially over taped seams and around screw heads. The goal is to make these areas flush with the rest of the drywall surface.
- Dust Management: Sanding drywall generates a lot of dust. Keep your workspace ventilated. Wearing a dust mask and goggles can protect you from fine particles. Lay drop cloths on the floor to catch dust and simplify cleanup.
- Check Your Work: After sanding, run a light across the surface to check for any imperfections or uneven areas. Shadows and highlights cast by the light can reveal bumps or dips that need more attention.
- Final Touches: Once you’re satisfied with the sanding, wipe down the walls with a damp cloth to remove any residual dust. This step is crucial for paint adhesion and a clean, professional finish.
- Priming (Optional but Recommended): Applying a primer before painting isn’t always necessary, but it can improve paint adhesion and result in a more uniform appearance. It's particularly advisable if your drywall is highly porous or if you're planning to use a light color paint over a darker mud.
Summary and Final Tips
- Preparation Is Key: Before starting, ensure your space is ready. This means a clean, clear area and all necessary tools and materials at hand.
- Measure Twice, Cut Once: Accurate measurements and careful cutting are crucial for a snug fit of your drywall panels.
- Start with the Ceiling: Always hang drywall on the ceiling before moving to the walls to support the edges of the wall panels properly.
- Taping and Mudding: Apply joint compound and tape with care to achieve smooth seams. Remember, this might require several coats and sanding between each to get it just right.
- Sanding for Smoothness: Sand gently to avoid damaging the drywall surface. The goal is a smooth finish that’s invisible under paint or wallpaper.
- Cleanliness and Dust Management: Keep your workspace clean and dust-free. This not only helps with the final finish but also makes for a healthier work environment.
- Don’t Rush: The best results come from not rushing the process. Allow plenty of time for drying between coats of mud and before sanding.
- Safety First: Always wear protective gear, including goggles and a dust mask, to protect yourself from dust and debris.
Additional Tips
- Use the Right Screw Length: Ensure you're using the appropriate length of drywall screws to avoid puncturing any underlying pipes or wires.
- Keep Panels Dry: Avoid moisture exposure before installation to prevent warping.
- Seal Gaps: Use caulk to seal any gaps around windows and doors for better insulation.
- Practice Makes Perfect: Don’t be discouraged by minor mistakes. Drywall finishing is an art that improves with practice.
Remember, the quality of your drywall installation dramatically affects the look and feel of your room. Taking the time to do it right pays off in the smooth, flat walls that serve as the canvas for your decorative ambitions.
Ready to elevate the look and feel of your space with professional drywall services? Look no further than Frenchie Drywall LLC. Whether you're updating your home or enhancing your commercial space, our expert team delivers top-quality residential and commercial drywall solutions, seamless drywall installation, and stunning interior painting services. Trust Frenchie Drywall Services to bring your vision to life with precision, care, and unmatched expertise. Contact us today to transform your space into something spectacular.


